> ## Documentation Index
> Fetch the complete documentation index at: https://www.carstoragesoftware.com/docs/llms.txt
> Use this file to discover all available pages before exploring further.
# Help customers upload documents in the portal
> Set up document types and show customers how to upload insurance, registration, and other files from the customer portal.
## What you will accomplish
You will set up clear document categories, turn on customer access where needed, and help customers upload files themselves from **My Documents** in the customer portal—so your front desk receives fewer email attachments.
This guide is for **staff** who configure uploads and coach customers. Customers do not use the staff dashboard.
## When to use this guide
* You want customers to upload insurance cards or registration without emailing photos.
* Onboarding should collect paperwork, but customers may also need to upload files later.
* Your team already saves files with [Upload a document for a customer](/docs/contracts/upload-a-document-for-a-customer) and you want the same categories available in the portal.
**Signed agreements are different**
**Contracts** are PDFs customers **sign**. **Documents** are files they **upload** (insurance, registration, license). If the customer needs to sign a storage agreement, use [Send a contract for signature](/docs/contracts/send-a-contract-for-signature) or [Attach contracts to customer workflows](/docs/contracts/attach-contracts-to-workflows)—not this upload flow.
## Before you start
* Document types exist in [Settings > Contracts & Documents](https://www.carstoragesoftware.com/dashboard/settings/contracts-and-documents). If not, complete [Configure document requirements](/docs/contracts/configure-document-requirements) first.
* Each customer-facing type has **Customer Access** turned **on** in [Settings > Contracts & Documents](https://www.carstoragesoftware.com/dashboard/settings/contracts-and-documents).
* The customer has a portal account (see [Invite a customer to the portal](/docs/contacts/invite-a-customer-to-the-portal)).
## Step 1: Confirm document types customers may upload
Go to [Settings > Contracts & Documents](https://www.carstoragesoftware.com/dashboard/settings/contracts-and-documents).
Scroll to **Document types for uploads**. Each row is a label customers and staff see when saving a file.
**Expected result:** Types such as **Insurance** and **Vehicle Registration** appear with **Customer Access** enabled for types customers should upload themselves.
Edit a type (or create one) and turn **Customer Access** **on** when customers should see or upload that category in the portal.
**Why this matters:** If **Customer Access** is off, the type is for staff-only uploads—even if you turned on the onboarding upload step.
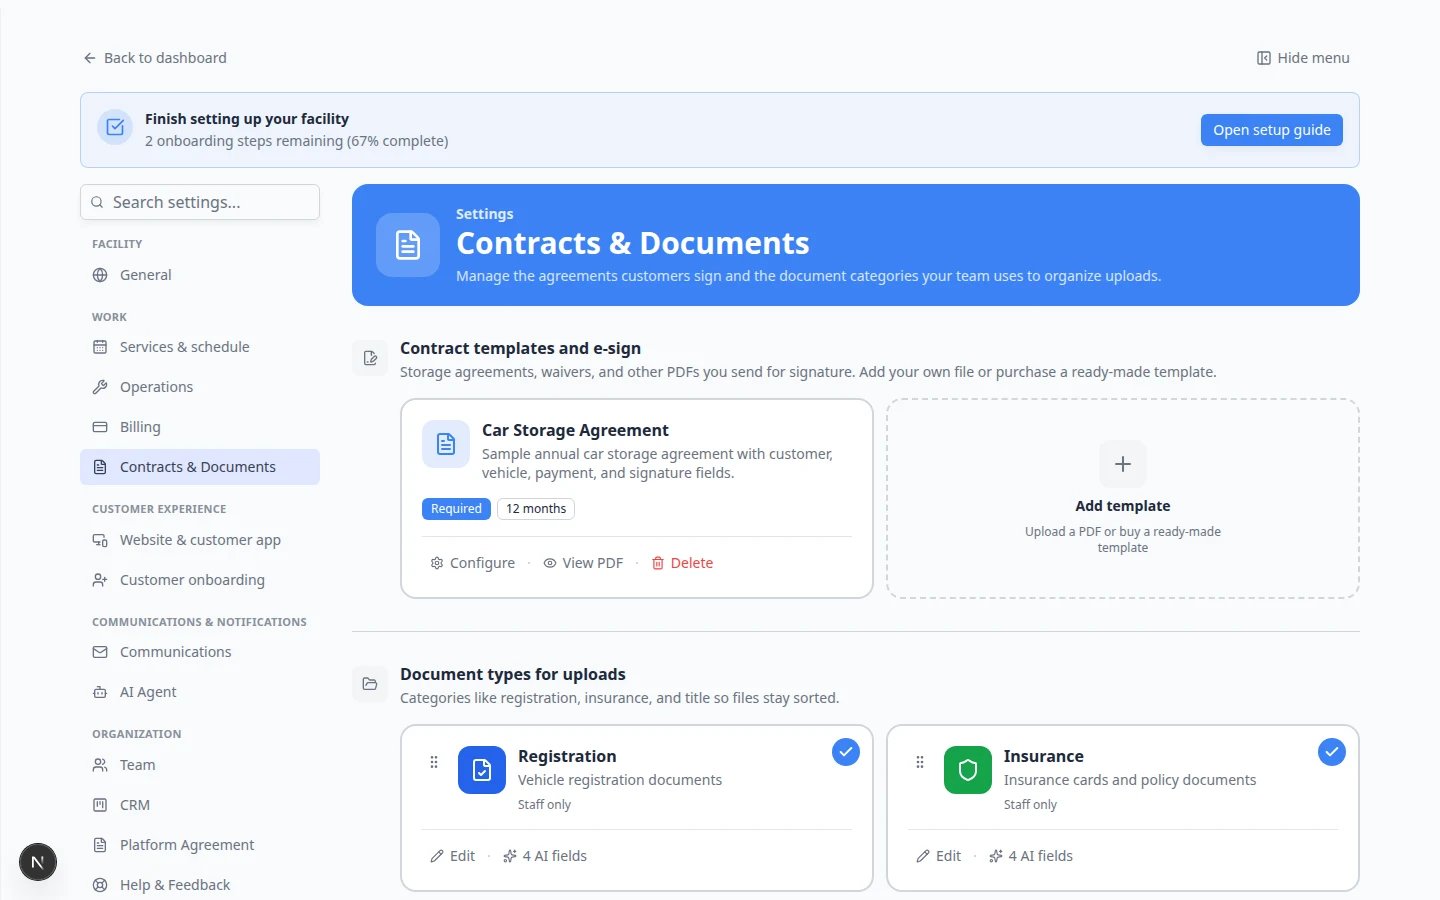 *Use **Customer Access** to control which upload categories appear in the customer portal.*
## Step 2: Tell the customer where to go
After the customer signs in to the portal, they open **My Documents**.
Send your facility's customer sign-in link (see [Share customer login links](/docs/facility-web-pages/share-customer-login-links)) or resend a portal invite from [Contacts](https://www.carstoragesoftware.com/dashboard/contacts).
After the customer signs in, they tap **Profile** (or **Settings**) in the bottom navigation, then tap **My Documents**.
The page title reads **My Documents** with the subtitle **View and upload your documents**.
You can also open [My Documents](https://www.carstoragesoftware.com/customer/documents) directly when you are already signed in.
*Use **Customer Access** to control which upload categories appear in the customer portal.*
## Step 2: Tell the customer where to go
After the customer signs in to the portal, they open **My Documents**.
Send your facility's customer sign-in link (see [Share customer login links](/docs/facility-web-pages/share-customer-login-links)) or resend a portal invite from [Contacts](https://www.carstoragesoftware.com/dashboard/contacts).
After the customer signs in, they tap **Profile** (or **Settings**) in the bottom navigation, then tap **My Documents**.
The page title reads **My Documents** with the subtitle **View and upload your documents**.
You can also open [My Documents](https://www.carstoragesoftware.com/customer/documents) directly when you are already signed in.
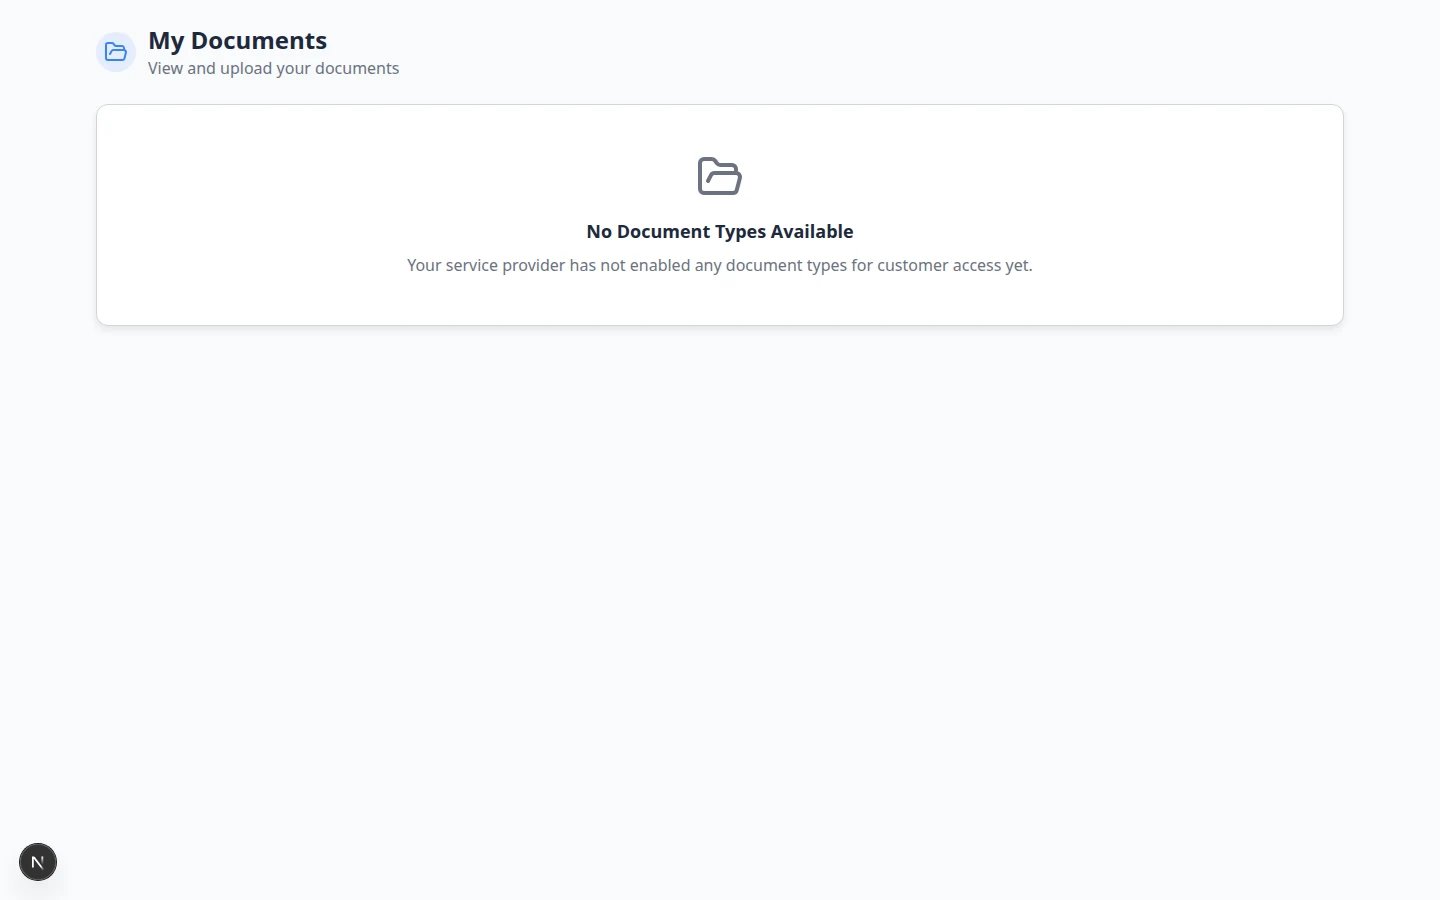 *Customers upload by document type—Insurance, Registration, and other categories you configured with **Customer Access**.*
**Expected result:** The customer sees one card per allowed document type, each with an **Upload** button (or **Upload your first document** when nothing is on file yet).
## Step 3: Walk the customer through an upload
Use plain language on the phone or in email. Read these steps slowly—many customers have never uploaded a file from a phone browser before.
Ask the customer to tap the card that matches their file—for example **Insurance** for an insurance card photo.
**Why this matters:** Picking the wrong card makes your team relabel the file later. The card name should match what you asked for in email or on the phone.
They tap **Upload** on that card (or **Upload your first document** when the list is empty).
**Expected result:** A window titled **Upload Document** opens.
In the **Upload Document** window, they enter a **Title** (required), then choose a PDF or photo from their device. Many customers photograph a card with their phone camera.
On a phone, **Take photo** or the camera option works well for insurance cards.
**Expected result:** They see the file name (for example, `insurance-card.jpg`) before they save.
They tap **Upload**, **Save**, or **Add Document** at the bottom of the window.
**Expected result:** The window closes and the file name appears under that document type on **My Documents**.
*Customers upload by document type—Insurance, Registration, and other categories you configured with **Customer Access**.*
**Expected result:** The customer sees one card per allowed document type, each with an **Upload** button (or **Upload your first document** when nothing is on file yet).
## Step 3: Walk the customer through an upload
Use plain language on the phone or in email. Read these steps slowly—many customers have never uploaded a file from a phone browser before.
Ask the customer to tap the card that matches their file—for example **Insurance** for an insurance card photo.
**Why this matters:** Picking the wrong card makes your team relabel the file later. The card name should match what you asked for in email or on the phone.
They tap **Upload** on that card (or **Upload your first document** when the list is empty).
**Expected result:** A window titled **Upload Document** opens.
In the **Upload Document** window, they enter a **Title** (required), then choose a PDF or photo from their device. Many customers photograph a card with their phone camera.
On a phone, **Take photo** or the camera option works well for insurance cards.
**Expected result:** They see the file name (for example, `insurance-card.jpg`) before they save.
They tap **Upload**, **Save**, or **Add Document** at the bottom of the window.
**Expected result:** The window closes and the file name appears under that document type on **My Documents**.
 *The **Upload Document** window is simple: choose the file, confirm the name looks right, then save. Stay on the phone until the file name appears on **My Documents**.*
**Expected result:** Your team sees the same file on the customer record under **Documents & Contracts** within a few seconds (see Step 4).
## Step 4: Confirm on the customer record (staff view)
Go to [Contacts](https://www.carstoragesoftware.com/dashboard/contacts) and open the customer.
Find the **Documents & Contracts** section. Uploaded files appear as document cards with the type label you configured.
**Why this matters:** Staff and customers share one file list—no need to hunt through email.
*The **Upload Document** window is simple: choose the file, confirm the name looks right, then save. Stay on the phone until the file name appears on **My Documents**.*
**Expected result:** Your team sees the same file on the customer record under **Documents & Contracts** within a few seconds (see Step 4).
## Step 4: Confirm on the customer record (staff view)
Go to [Contacts](https://www.carstoragesoftware.com/dashboard/contacts) and open the customer.
Find the **Documents & Contracts** section. Uploaded files appear as document cards with the type label you configured.
**Why this matters:** Staff and customers share one file list—no need to hunt through email.
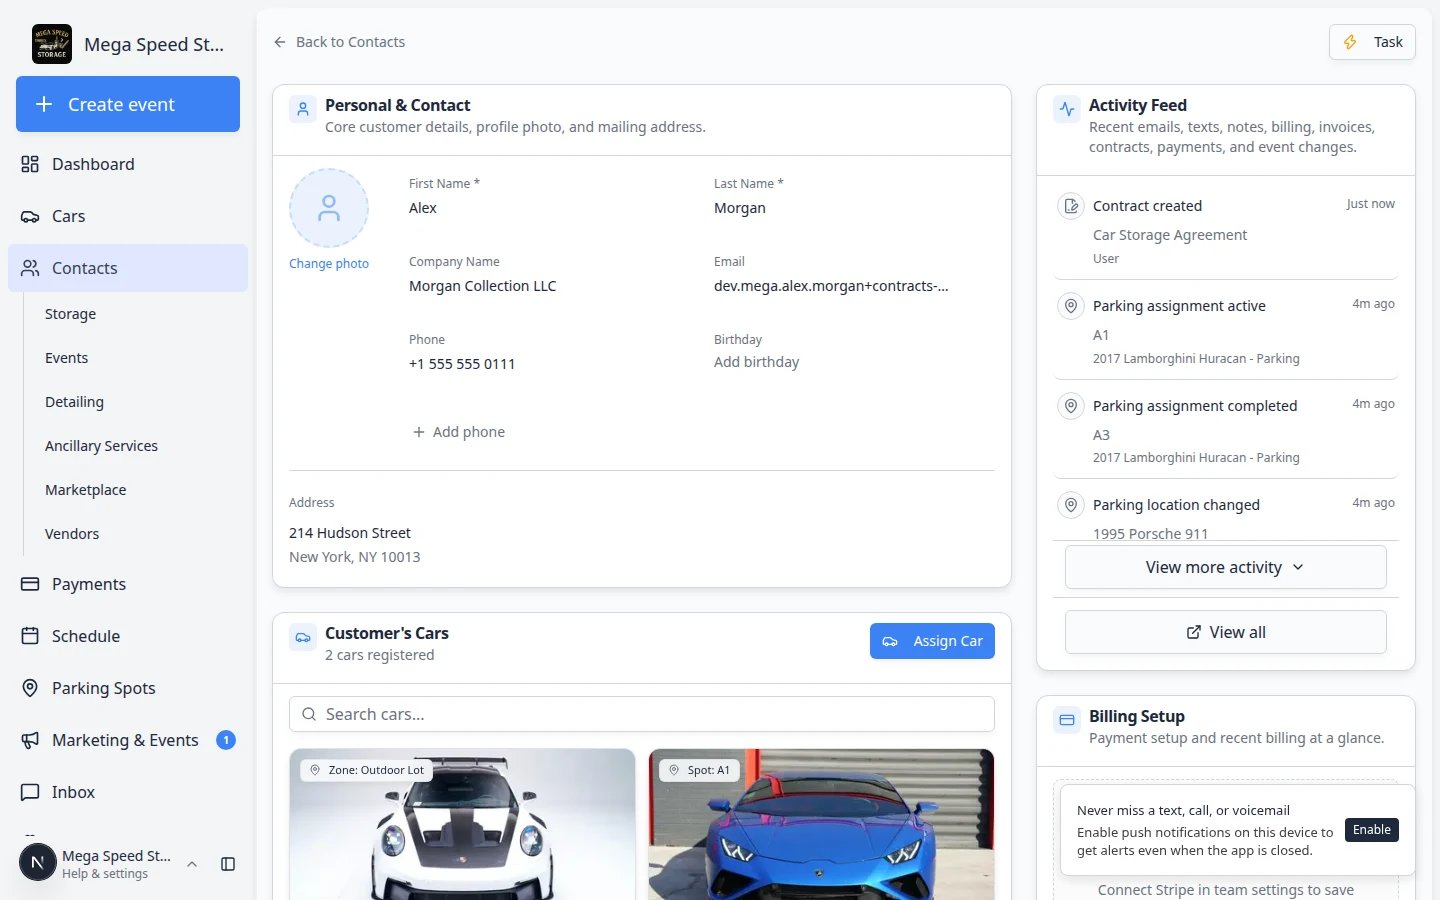 *Portal uploads appear on the customer record with the same document type label your team uses for staff uploads.*
## Optional: Require uploads during first-time onboarding
If every new customer must upload during their first portal visit:
In [Settings > Customer onboarding](https://www.carstoragesoftware.com/dashboard/settings/customer-onboarding), expand **Customer app onboarding** and turn the main switch **on**.
In the **Onboarding steps** list, turn on **Document Upload** and click **Configure** to choose required types.
See [Attach contracts to customer workflows](/docs/contracts/attach-contracts-to-workflows) for the full onboarding setup order (cars before contracts when vehicle fields are used).
*Portal uploads appear on the customer record with the same document type label your team uses for staff uploads.*
## Optional: Require uploads during first-time onboarding
If every new customer must upload during their first portal visit:
In [Settings > Customer onboarding](https://www.carstoragesoftware.com/dashboard/settings/customer-onboarding), expand **Customer app onboarding** and turn the main switch **on**.
In the **Onboarding steps** list, turn on **Document Upload** and click **Configure** to choose required types.
See [Attach contracts to customer workflows](/docs/contracts/attach-contracts-to-workflows) for the full onboarding setup order (cars before contracts when vehicle fields are used).
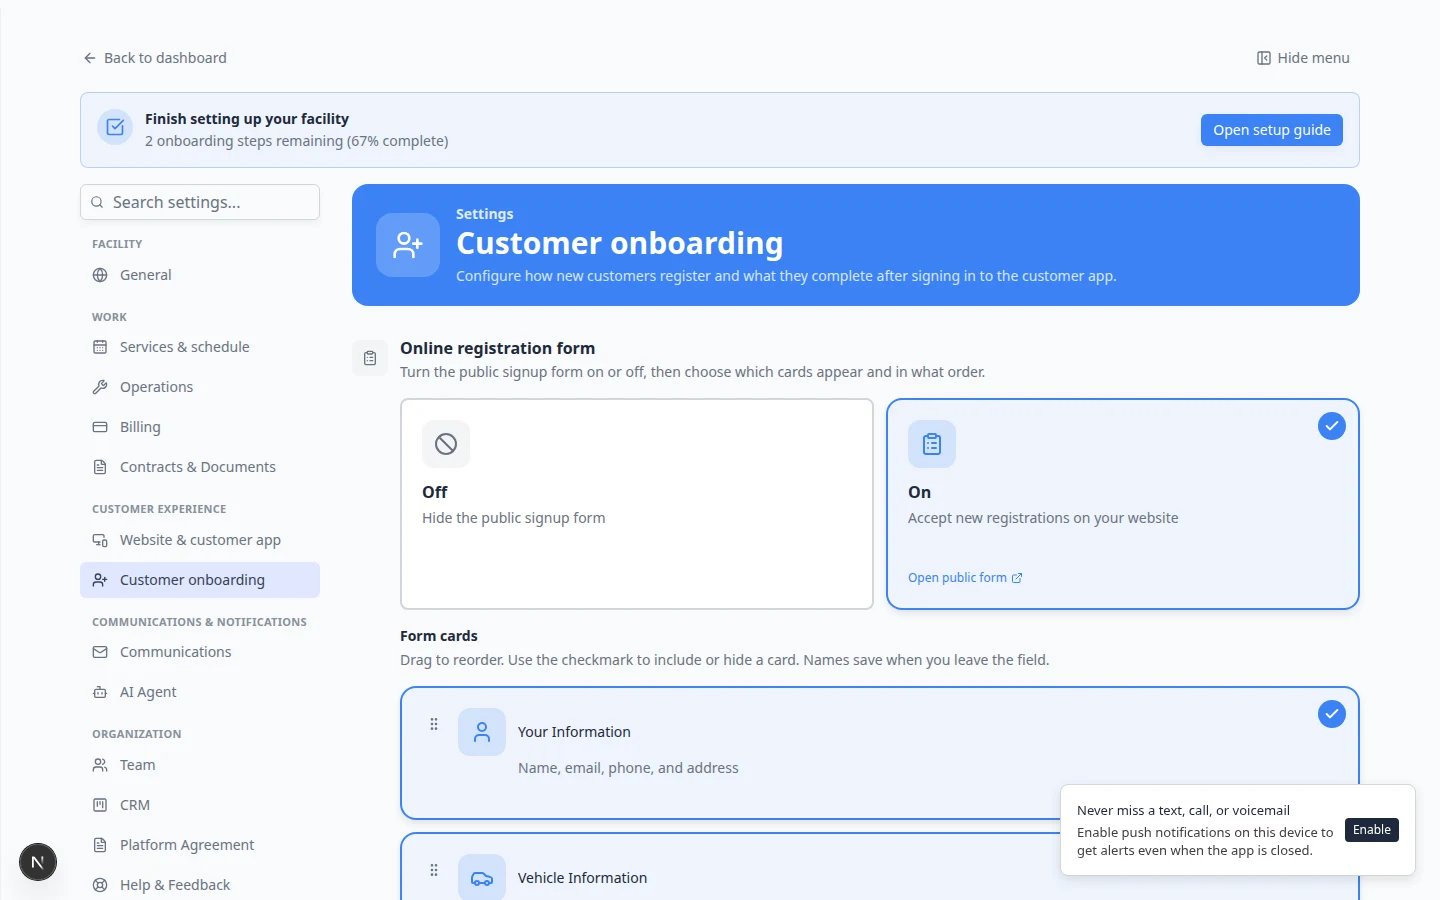 *During onboarding, customers only see document types you select here—and only types with **Customer Access** enabled.*
## What success looks like
* Customers can open **My Documents** after signing in.
* Each required file type appears with a clear name (Insurance, Registration, and so on).
* Uploaded files show on the customer record under **Documents & Contracts**.
* Your team spends less time saving email attachments manually.
## Troubleshooting
**Customer does not see a document type**
Confirm **Customer Access** is **on** for that type in [Settings > Contracts & Documents](https://www.carstoragesoftware.com/dashboard/settings/contracts-and-documents) and that the type **Status** is active.
**Customer cannot find My Documents**
Confirm they completed portal sign-in (not the staff dashboard). Resend the invite from [Contacts](https://www.carstoragesoftware.com/dashboard/contacts) and ask them to use the link in email.
**File uploaded but staff cannot see it**
Open the correct customer record. Similar names happen. Refresh the page. If it is still missing, ask the customer to upload again while you stay on the phone.
**Use staff upload instead**
When a customer emails a file and cannot use the portal, save it with [Upload a document for a customer](/docs/contracts/upload-a-document-for-a-customer).
## What to do next
* [Review signed contracts and document history](/docs/contracts/review-signed-contracts-and-documents) to confirm everything is on file.
* [Send a contract for signature](/docs/contracts/send-a-contract-for-signature) when the customer still needs a signed agreement.
* [Invite a customer to the portal](/docs/contacts/invite-a-customer-to-the-portal) if they have not signed in yet.
This documentation is built and hosted on [Mintlify](https://mintlify.com), a developer documentation platform.
*During onboarding, customers only see document types you select here—and only types with **Customer Access** enabled.*
## What success looks like
* Customers can open **My Documents** after signing in.
* Each required file type appears with a clear name (Insurance, Registration, and so on).
* Uploaded files show on the customer record under **Documents & Contracts**.
* Your team spends less time saving email attachments manually.
## Troubleshooting
**Customer does not see a document type**
Confirm **Customer Access** is **on** for that type in [Settings > Contracts & Documents](https://www.carstoragesoftware.com/dashboard/settings/contracts-and-documents) and that the type **Status** is active.
**Customer cannot find My Documents**
Confirm they completed portal sign-in (not the staff dashboard). Resend the invite from [Contacts](https://www.carstoragesoftware.com/dashboard/contacts) and ask them to use the link in email.
**File uploaded but staff cannot see it**
Open the correct customer record. Similar names happen. Refresh the page. If it is still missing, ask the customer to upload again while you stay on the phone.
**Use staff upload instead**
When a customer emails a file and cannot use the portal, save it with [Upload a document for a customer](/docs/contracts/upload-a-document-for-a-customer).
## What to do next
* [Review signed contracts and document history](/docs/contracts/review-signed-contracts-and-documents) to confirm everything is on file.
* [Send a contract for signature](/docs/contracts/send-a-contract-for-signature) when the customer still needs a signed agreement.
* [Invite a customer to the portal](/docs/contacts/invite-a-customer-to-the-portal) if they have not signed in yet.
This documentation is built and hosted on [Mintlify](https://mintlify.com), a developer documentation platform.