> ## Documentation Index
> Fetch the complete documentation index at: https://www.carstoragesoftware.com/docs/llms.txt
> Use this file to discover all available pages before exploring further.
# Embed a custom form on your website
> Place a published custom form directly on your public facility page so visitors can answer questions without leaving your site.
## What you will accomplish
You will add a **Custom form** section to your public facility page so visitors can fill out a survey or signup form while they are already browsing your website. When you are done, the form appears on your live public page—not only at a separate link.
This guide builds on [Create and share a custom form](/docs/marketing-events/create-and-share-a-custom-form). Create and publish the form first, then return here to embed it.
**Embed vs shareable link**
A **shareable link** opens the form on its own page. An **embed** shows the same form **inside** your facility landing page. Use both when you want the form on your website **and** in emails or QR codes.
## When to use an embedded form
* You want open-house guests to answer questions on the same page where they read about your facility.
* You run a car-show interest survey and your main website already links to your public facility page.
* You want fewer steps—visitors should not hunt for a second link.
## Before you start
* You already created a form and turned **Published** on. See [Create and share a custom form](/docs/marketing-events/create-and-share-a-custom-form).
* **Public Facility Pages** are on in [Settings > Website & customer app](https://www.carstoragesoftware.com/dashboard/settings/website).
* You can open the **Page editor** on Website settings (owner or admin access).
## Step 1: Open Website settings and the Page editor
Go to [Settings > Website & customer app](https://www.carstoragesoftware.com/dashboard/settings/website).
**Expected result:** You see **Shareable links** near the top and **Public website** farther down the page.
Under **Public website**, confirm **Public Facility Pages** is turned **on** and your **Facility slug** is saved.
**Why this matters:** The embed only appears on live public pages. A missing slug means customers cannot open your site.
Click **Page editor** (or **Edit page**—wording may vary slightly).
**Expected result:** You see a list of page sections you can turn on, off, and reorder—such as **About the facility**, **Photo gallery**, and **Storage inquiry**.
## Step 2: Add a Custom form section
Click **Add section** (or the **+** button in the section list).
**Expected result:** A menu shows built-in section types you can add to the page.
Select **Custom form** from the list.
**Why this matters:** This section type embeds a form you built under Marketing & Events—not the standard storage registration form (that is a different section).
Make sure the new **Custom form** row is enabled (toggle on). Drag it to a sensible spot—many facilities place it below **About the facility** or above **Photo gallery**.
**Expected result:** The section appears in your page order. Changes save automatically.
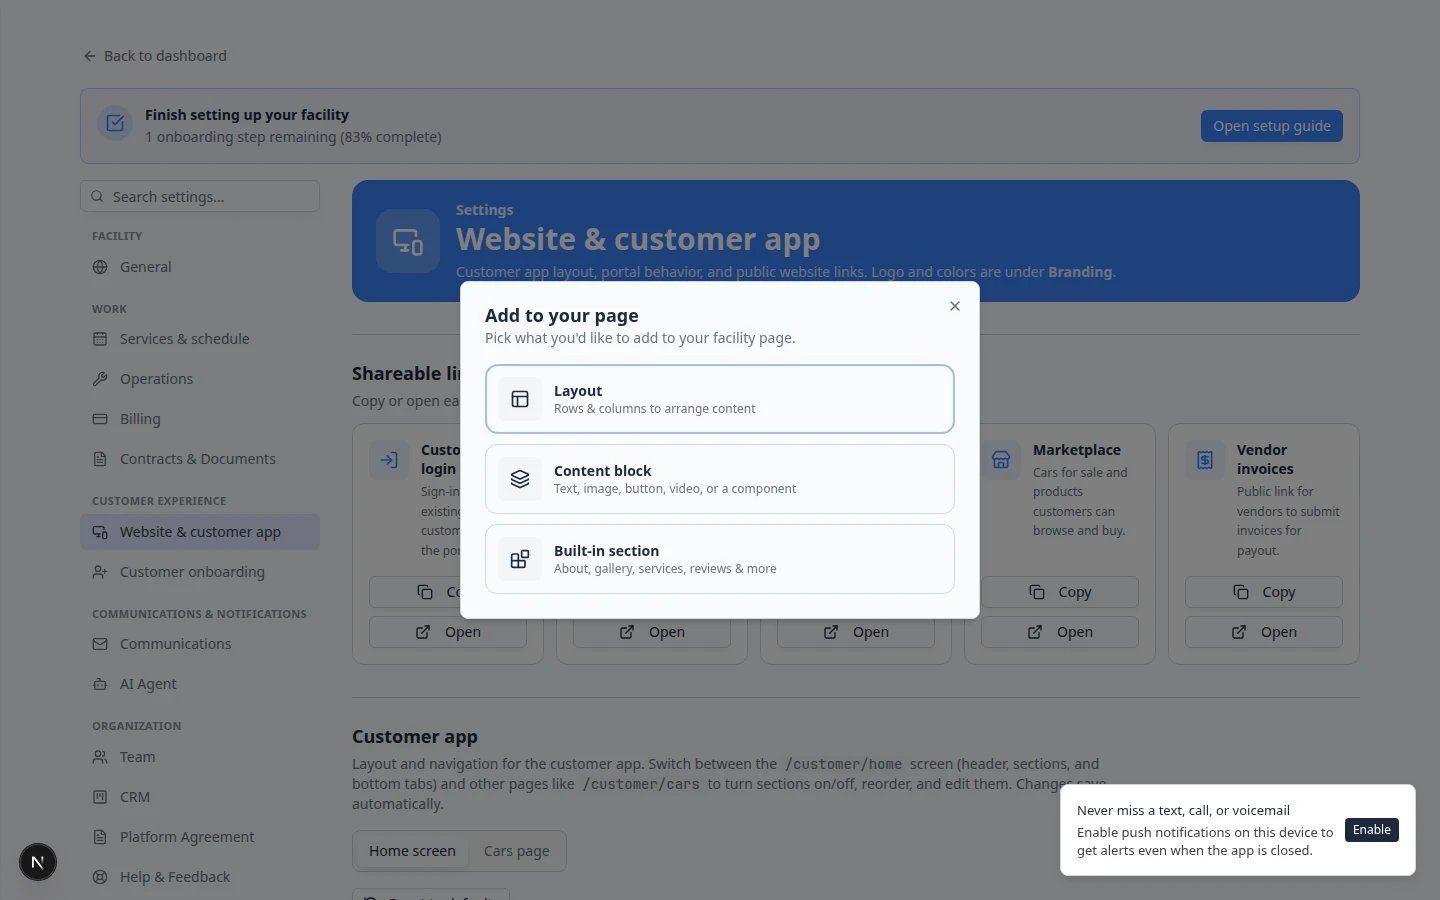 *Click **Add section**, then choose **Custom form** from the list. This is different from the standard storage registration section.*
## Step 3: Pick which form to show
Click the **Custom form** row in the Page editor so its settings appear on the right side of the screen.
Open the **Published form** dropdown. Pick the form you want visitors to see—for example **Cars & Coffee Interest Survey**.
If the list is empty, publish a form first on [Marketing & Events > Forms](https://www.carstoragesoftware.com/dashboard/forms), then return here.
**Expected result:** The dropdown shows the form name you selected.
Click **Preview** or open your **Main page** link from **Shareable links** at the top of Website settings.
**Why this matters:** Preview catches wrong forms and long question lists before customers see them.
*Click **Add section**, then choose **Custom form** from the list. This is different from the standard storage registration section.*
## Step 3: Pick which form to show
Click the **Custom form** row in the Page editor so its settings appear on the right side of the screen.
Open the **Published form** dropdown. Pick the form you want visitors to see—for example **Cars & Coffee Interest Survey**.
If the list is empty, publish a form first on [Marketing & Events > Forms](https://www.carstoragesoftware.com/dashboard/forms), then return here.
**Expected result:** The dropdown shows the form name you selected.
Click **Preview** or open your **Main page** link from **Shareable links** at the top of Website settings.
**Why this matters:** Preview catches wrong forms and long question lists before customers see them.
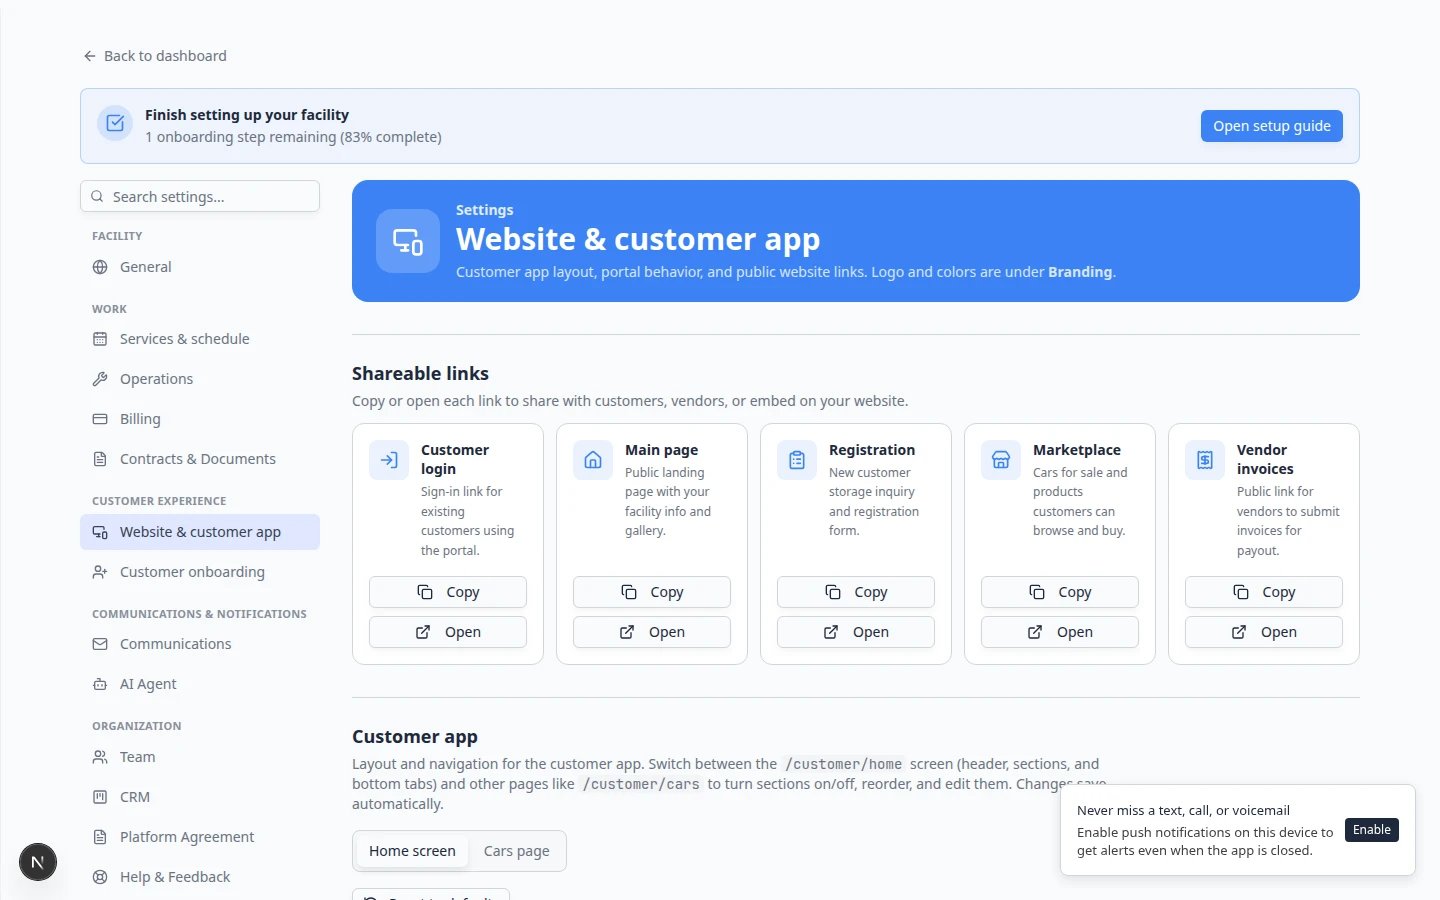 *Select the **Custom form** section, then choose which published form appears on your public facility page.*
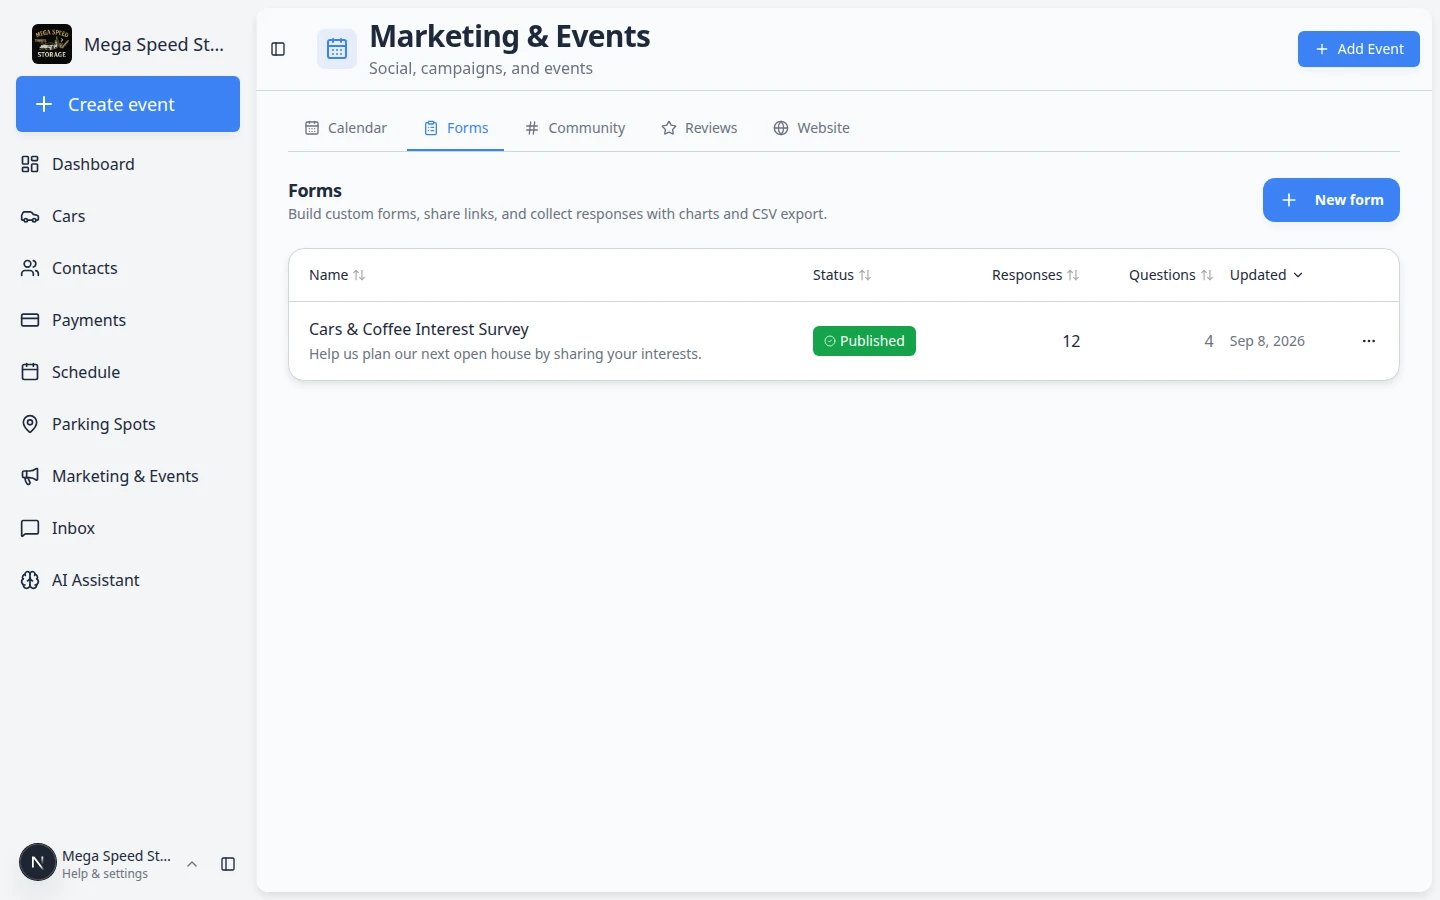 *Only **Published** forms appear in the Page editor dropdown. Publish your form on [Marketing & Events > Forms](https://www.carstoragesoftware.com/dashboard/forms) first.*
## Step 4: Test the embedded form
Copy your **Main page** link from **Shareable links** and open it in a private browser window (or on your phone).
**Expected result:** Your facility page loads with the embedded form visible in the section order you chose.
*Only **Published** forms appear in the Page editor dropdown. Publish your form on [Marketing & Events > Forms](https://www.carstoragesoftware.com/dashboard/forms) first.*
## Step 4: Test the embedded form
Copy your **Main page** link from **Shareable links** and open it in a private browser window (or on your phone).
**Expected result:** Your facility page loads with the embedded form visible in the section order you chose.
 *Visitors see your form on the same page as your facility information—no extra login step when the form is set to public.*
Fill out every required question and click **Submit**.
**Expected result:** You see your success message. The test response appears on the form’s **Results** page. See [Review form responses and export](/docs/marketing-events/review-form-responses-and-export).
Share the **Main page** link with front-desk staff—not the dashboard editor link.
**Why this matters:** Staff should send customers to the same public page you tested.
## What success looks like
* The **Custom form** section is on in the Page editor and points to the correct published form.
* Your public facility page shows the form without asking visitors to sign in (when the form allows anyone with the link).
* Test submissions appear on **Results** for that form.
* Your team still has the standalone form link from **Share** for emails and QR codes when needed.
## Troubleshooting
**The Published form list is empty**
Open [Marketing & Events > Forms](https://www.carstoragesoftware.com/dashboard/forms), open your form, and turn **Published** on. Only published forms appear in the embed dropdown.
**The form does not appear on the public page**
Confirm **Public Facility Pages** is on and the **Custom form** section is enabled in the Page editor. Hard-refresh the public page (or open a private window) to clear an old cached version.
**Visitors see the wrong form**
Reopen the Page editor, click **Custom form**, and pick the correct name in **Published form**. Preview again before you share the link.
## What to do next
1. [Review form responses and export](/docs/marketing-events/review-form-responses-and-export) — read answers and download a spreadsheet.
2. [Review website traffic on your public pages](/docs/marketing-events/review-website-traffic-on-your-public-pages) — see if more people visit after you add the form.
3. [Create a campaign](/docs/marketing-events/create-a-campaign) — email customers and link to your main facility page.
4. [Configure the facility landing page](/docs/facility-web-pages/configure-the-facility-landing-page) — adjust other sections around your new form.
This documentation is built and hosted on [Mintlify](https://mintlify.com), a developer documentation platform.
*Visitors see your form on the same page as your facility information—no extra login step when the form is set to public.*
Fill out every required question and click **Submit**.
**Expected result:** You see your success message. The test response appears on the form’s **Results** page. See [Review form responses and export](/docs/marketing-events/review-form-responses-and-export).
Share the **Main page** link with front-desk staff—not the dashboard editor link.
**Why this matters:** Staff should send customers to the same public page you tested.
## What success looks like
* The **Custom form** section is on in the Page editor and points to the correct published form.
* Your public facility page shows the form without asking visitors to sign in (when the form allows anyone with the link).
* Test submissions appear on **Results** for that form.
* Your team still has the standalone form link from **Share** for emails and QR codes when needed.
## Troubleshooting
**The Published form list is empty**
Open [Marketing & Events > Forms](https://www.carstoragesoftware.com/dashboard/forms), open your form, and turn **Published** on. Only published forms appear in the embed dropdown.
**The form does not appear on the public page**
Confirm **Public Facility Pages** is on and the **Custom form** section is enabled in the Page editor. Hard-refresh the public page (or open a private window) to clear an old cached version.
**Visitors see the wrong form**
Reopen the Page editor, click **Custom form**, and pick the correct name in **Published form**. Preview again before you share the link.
## What to do next
1. [Review form responses and export](/docs/marketing-events/review-form-responses-and-export) — read answers and download a spreadsheet.
2. [Review website traffic on your public pages](/docs/marketing-events/review-website-traffic-on-your-public-pages) — see if more people visit after you add the form.
3. [Create a campaign](/docs/marketing-events/create-a-campaign) — email customers and link to your main facility page.
4. [Configure the facility landing page](/docs/facility-web-pages/configure-the-facility-landing-page) — adjust other sections around your new form.
This documentation is built and hosted on [Mintlify](https://mintlify.com), a developer documentation platform.