

What you will accomplish
After reading this overview and the linked guides, you and your team will know:- Where to sign in and which home screen to use (Create event vs Dashboard).
- How to track setup tasks in the in-app Setup Guide.
- How to add your first customer and car with clean, connected records.
- Where daily work lives in the sidebar (Cars, Contacts, Schedule, Payments, and more).
- Which guide to open next for the job you are doing today.
Before you start
- You have a staff login link from your facility (not a customer portal login).
- You can open the dashboard in a web browser on a computer, tablet, or phone.
- If someone else owns billing or settings, know their name so you can ask before changing facility-wide options.
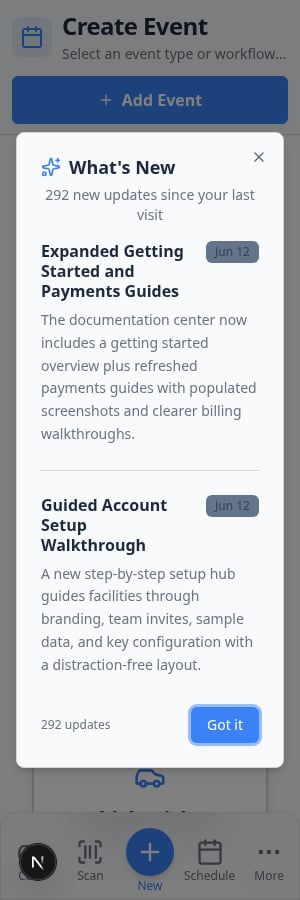
- After sign-in, close the What’s New pop-up by clicking Got it so it does not cover buttons you need to click.
Who should read which guide
Owners and managers setting up a new workspace — start with Complete the Setup Guide or the step-by-step Complete the onboarding wizard, then Set up your facility profile.Front-desk staff starting daily work — start with Use the Create event home page, Search your facility quickly, and Learn the dashboard.Anyone entering the first real customer and car — use Prepare your first customer and car.Managers who want one screen with schedule, parking, and inbox — read Customize your Overview dashboard.Anyone who prefers a guided wizard after first sign-in — read Complete the onboarding wizard.
Your first week — recommended order
Follow this path the first time your facility uses the app. You do not need to finish every step before trying daily work — many teams add one customer and one car while other setup tasks are still open.1
Try the onboarding wizard (new facilities)
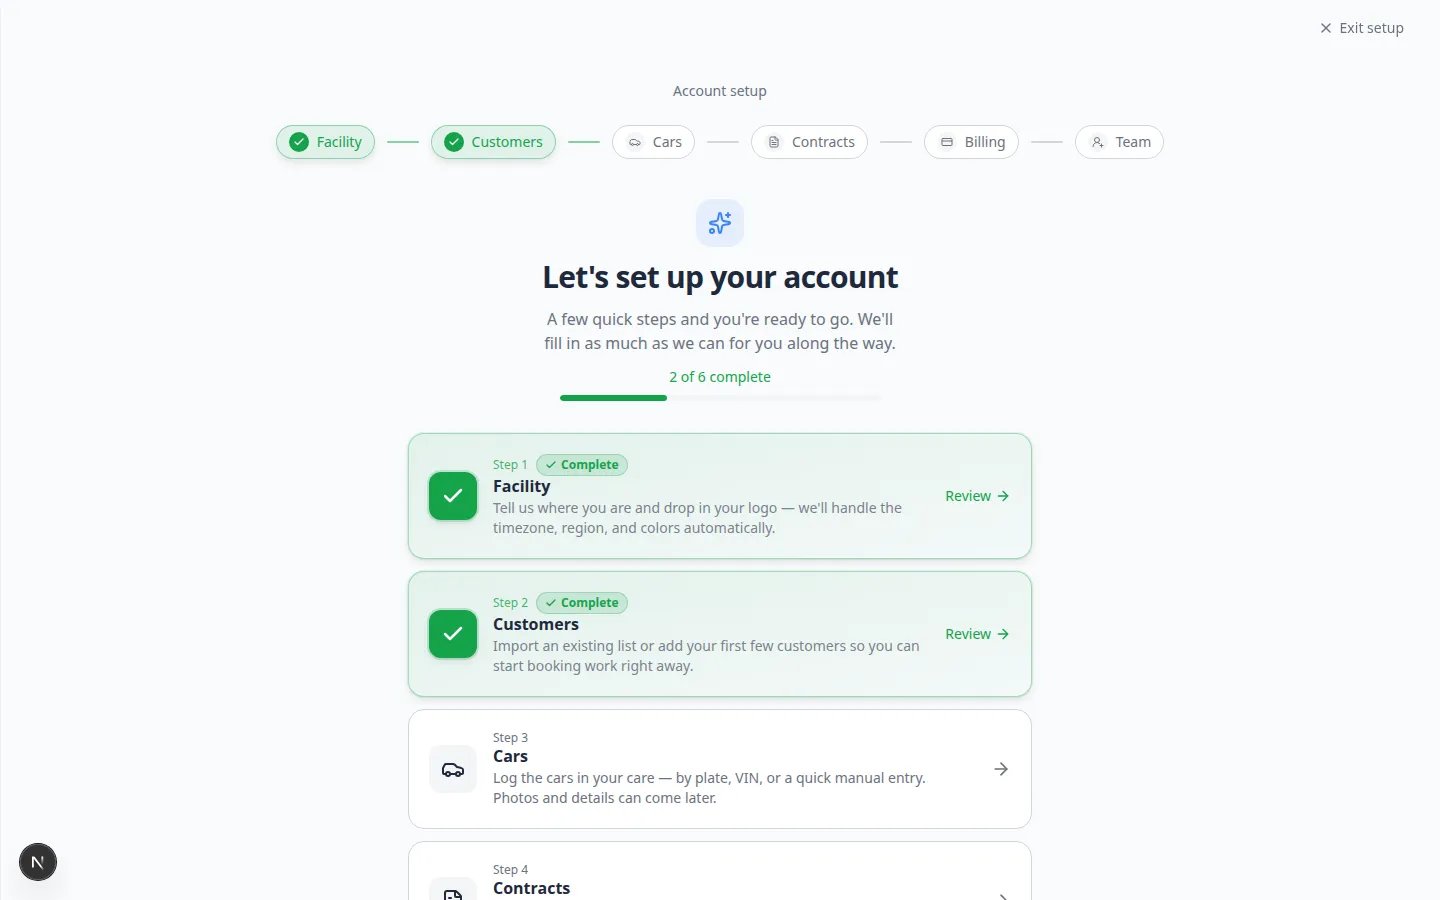
If you see Let’s set up your account after sign-in, follow the six cards for facility details, customers, cars, contracts, billing, and team invites.Read the full guide →
2
Track setup in the Setup Guide
Open Setup Guide and work through the six setup cards your manager assigns.Read the hub guide → · Read step-by-step wizard help →
3
Confirm public facility details
Check your facility name, logo, time zone, and date formats so customers see the right information on emails and portal pages.Read the full guide →
4
Learn the sidebar and search shortcut
Take a safe tour of Cars, Contacts, Schedule, Payments, Parking Spots, and Settings without changing live records. Practice Ctrl+K (Windows) or ⌘K (Mac) to find a record fast.Dashboard tour → · Facility search →
5
Add your first customer and car
Search first, then create records and link the vehicle to the correct owner.Read the full guide →Already have a spreadsheet? Import from Import Data instead. See Import customers and cars from a spreadsheet.
6
Practice starting work from Create event
Pick an event type card, connect the right vehicle, and click Continue when your team is ready for intake or service workflows.Read the full guide →
7
Optional — customize your Dashboard
Add schedule, parking, and inbox panels to Dashboard if your role benefits from one command-center screen.Read the full guide →
Two home screens — both are normal
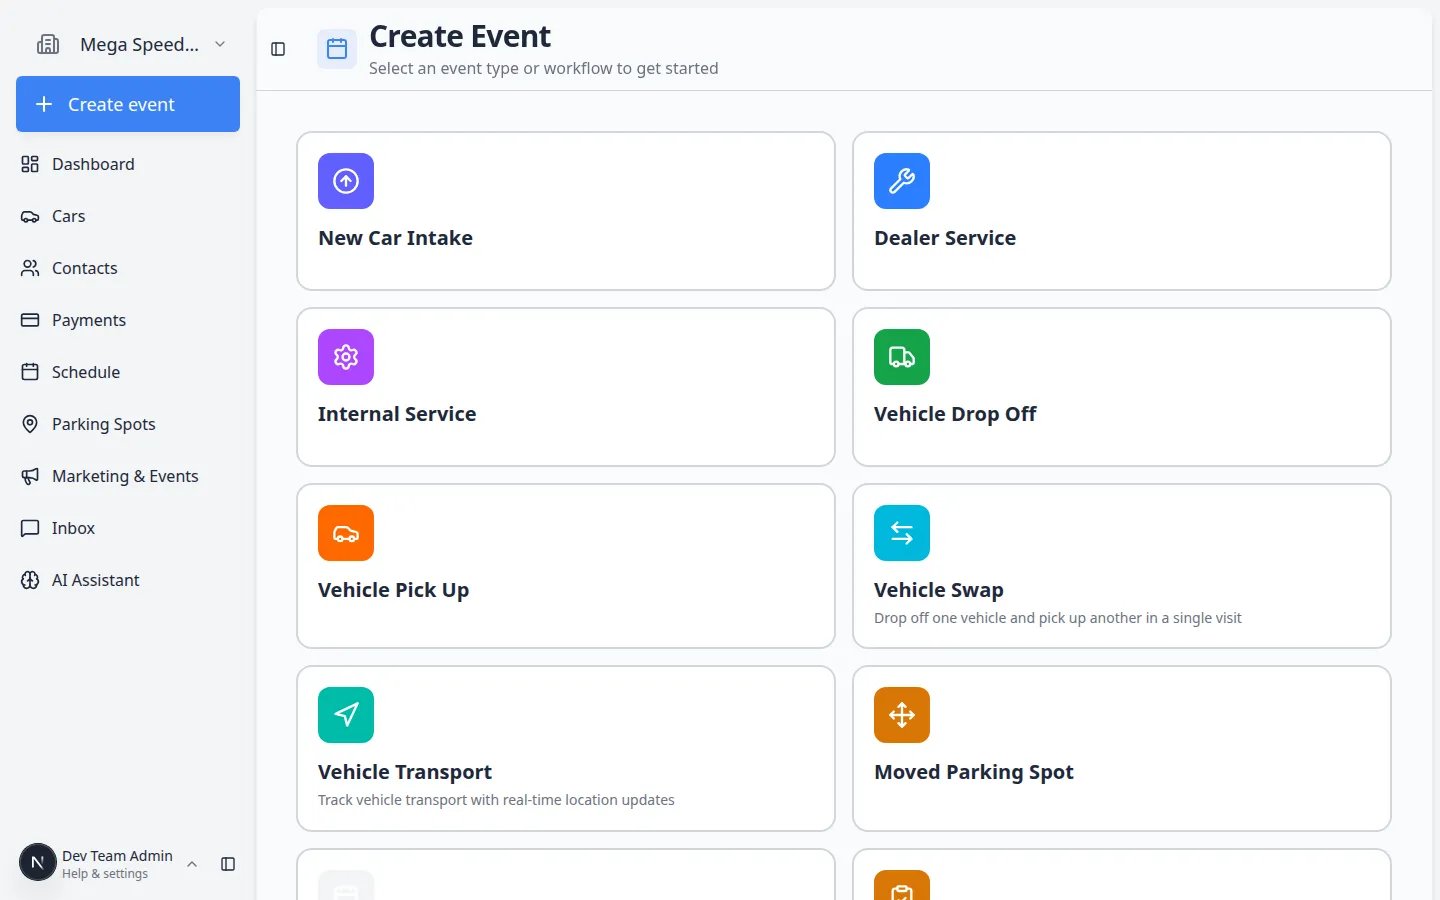
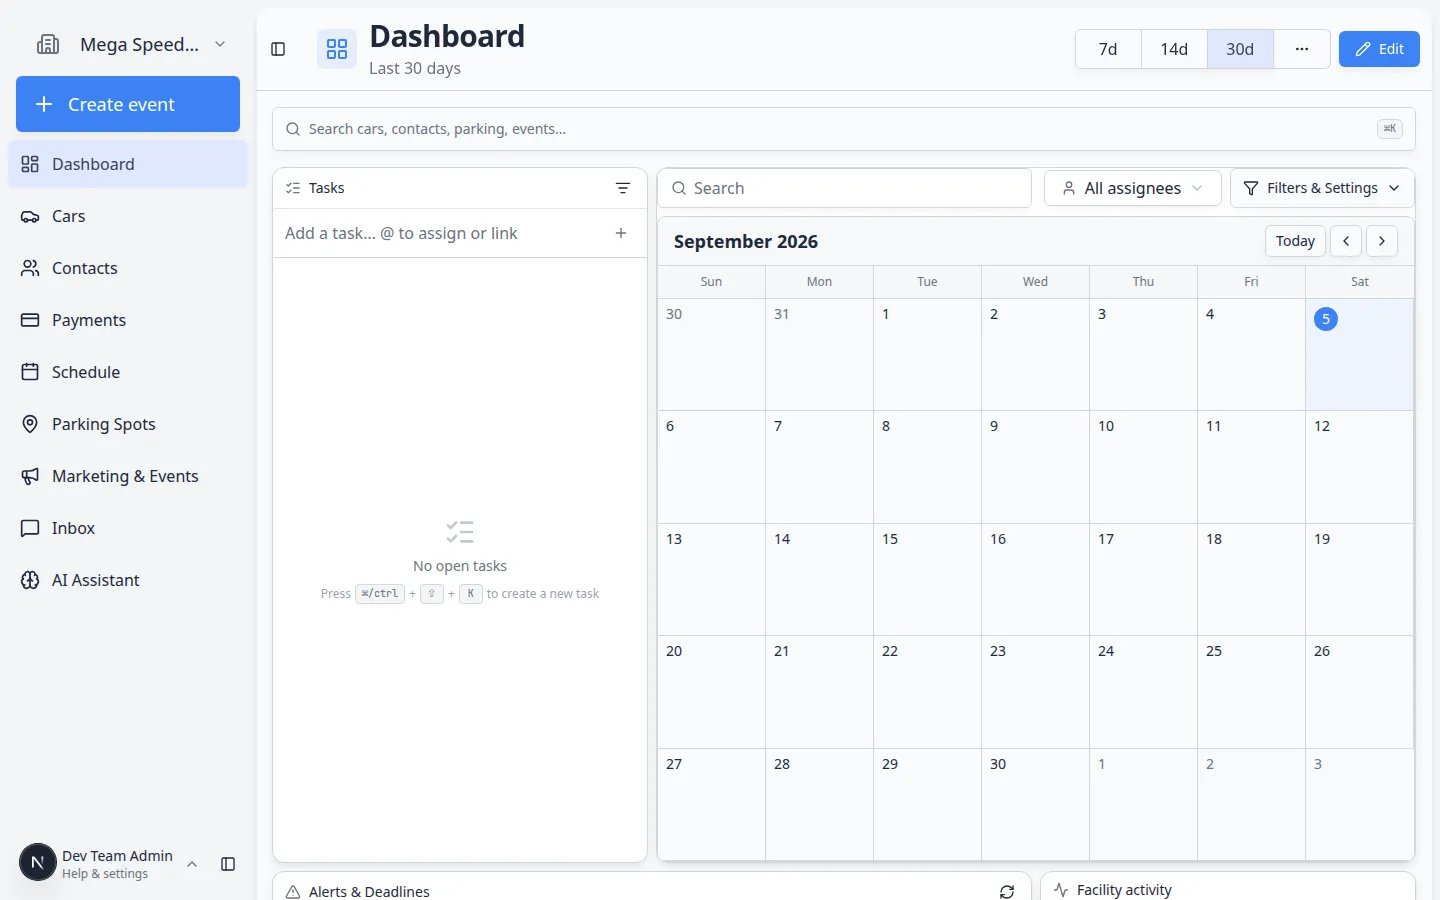
The sidebar offers two starting points. Neither is wrong.Create event (Create event) — Large colored cards for starting vehicle work right now (drop-off, detail, pickup). Best for front desk and shop floor.Dashboard (Dashboard, labeled Beta) — A customizable page with widgets for schedule, parking map, inbox, and charts. Best for managers who want one overview screen.
Quick links by job
How Basics connects to other guides
Once your facility is past the first week, use the section that matches your daily work:- Cars — vehicle records, parking on the car page, sessions, and photos.
- Contacts — customers, portal invites, tags, and CRM fields.
- Schedule — calendar planning, appointments, and rescheduling.
- Payments — invoices, quotes, and recurring storage billing.
- Parking Spots — floor plan, spot assignment, and reservations.
- Settings — full facility configuration for owners and admins.
Important words in plain English
Onboarding wizard — A guided six-step setup flow at Onboarding wizard for brand-new facilities (facility, customers, cars, contracts, billing, team).Setup Guide — An in-app checklist at Setup Guide that links to the settings pages your facility still needs.Create event — The staff home page with large buttons for starting vehicle workflows today.Customer record — A person or company in Contacts. Vehicles and billing connect to this record.Car record — A vehicle in Cars. Every stored or serviced car should have one.Event type — A labeled kind of work (drop-off, pickup, detail) that appears as a card on Create event.Portal — The customer-facing website where owners view cars, billing, and documents. Staff use the dashboard; customers use the portal.
Common mistakes to avoid
- Do not create duplicate customers or cars — always search first.
- Do not change Settings while exploring unless your manager asked you to.
- Do not skip linking a car to its owner — billing and messages depend on that connection.
- Do not confuse Create event (start work now) with Schedule (plan future appointments).
Troubleshooting
I feel overwhelmedYou do not need every guide at once. Finish Complete the Setup Guide, add one customer and one car with Prepare your first customer and car, then learn the sidebar with Learn the dashboard.
What success looks like
When Basics setup is going well:- Staff can sign in and find Cars, Contacts, and Create event without help.
- At least one customer and one car exist with the correct owner link.
- Facility name and time zone look correct on settings pages.
- The team knows which guide to open for invoices, parking, contracts, or appointments.
Your first day — a simple checklist
You do not need to finish everything in one sitting. Use this checklist on day one so your team makes steady progress without feeling overwhelmed.1
Sign in and land on Create event
Use the login link your facility gave you. Many staff see the Create event page first — large colored cards for starting vehicle work.Expected result: Your facility name appears at the top of the left sidebar. You are signed in as staff, not as a customer.
2
Open the Setup Guide
Go to Setup Guide. Read the Setup Progress percentage at the top.Why this matters: The Setup Guide is your facility’s to-do list inside the app. Each Set up button opens the correct settings page so you do not have to guess.Step-by-step help: Complete the Setup Guide.
3
Confirm public facility details
Check name, logo, and time zone in Set up your facility profile.Expected result: Branding and General settings show the business name and time zone your customers should see on emails and portal pages.
4
Take a safe tour of the sidebar
Open Learn the dashboard and visit Cars, Contacts, Schedule, Payments, Inbox, and Settings without saving changes.Expected result: You know where daily work lives before a car arrives at the door — including where to read customer messages and where managers change facility setup.
5
Add one real customer and one real car
Follow Prepare your first customer and car. Search first — do not create duplicates.Expected result: The customer appears in Contacts and the car appears in Cars with the correct owner link.
6
Practice starting work from Create event
When a vehicle arrives, open Use the Create event home page, pick the right card, search for the car, and click Continue.Expected result: You reach the next screen (photos, checklist, or parking) without attaching work to the wrong vehicle.
How to find Setup Guide in the app
The Setup Guide is not always obvious on a small screen. Use any of these paths:- Direct link: Setup Guide
- Sidebar: look for Setup Guide in the left menu (often below the main work areas).
- From Settings: open Settings and look for a link or banner pointing to setup progress.