

What you will accomplish
You will set up clear document categories, turn on customer access where needed, and help customers upload files themselves from My Documents in the customer portal—so your front desk receives fewer email attachments. This guide is for staff who configure uploads and coach customers. Customers do not use the staff dashboard.When to use this guide
- You want customers to upload insurance cards or registration without emailing photos.
- Onboarding should collect paperwork, but customers may also need to upload files later.
- Your team already saves files with Upload a document for a customer and you want the same categories available in the portal.
Signed agreements are differentContracts are PDFs customers sign. Documents are files they upload (insurance, registration, license). If the customer needs to sign a storage agreement, use Send a contract for signature or Attach contracts to customer workflows—not this upload flow.
Before you start
- Document types exist in Settings > Contracts & Documents. If not, complete Configure document requirements first.
- Each customer-facing type has Customer Access turned on in Settings > Contracts & Documents.
- The customer has a portal account (see Invite a customer to the portal).
Step 1: Confirm document types customers may upload
1
Open Contracts & Documents
2
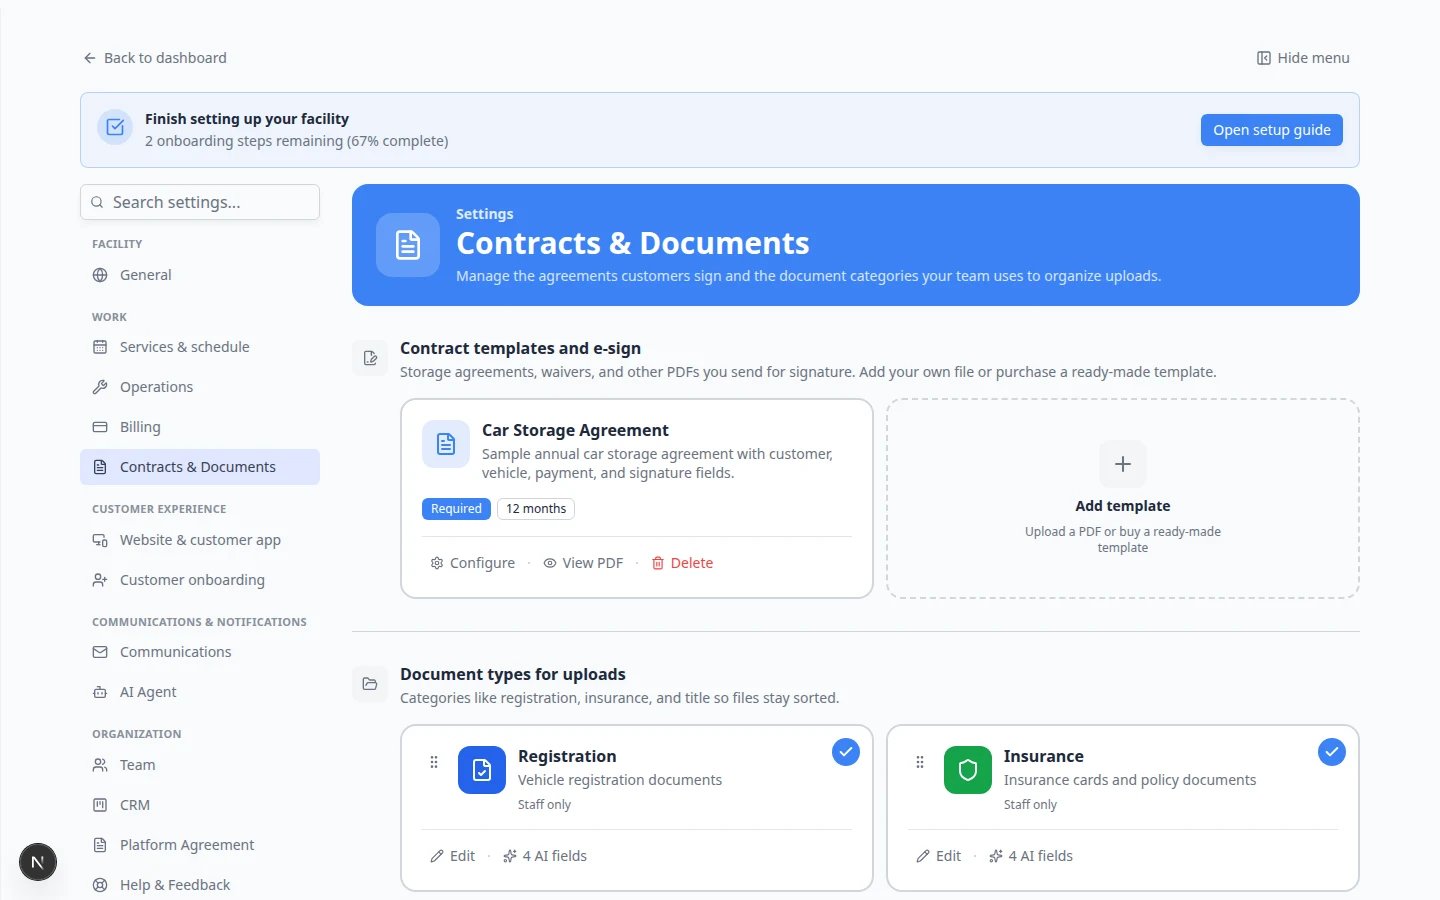
Review Document types for uploads
Scroll to Document types for uploads. Each row is a label customers and staff see when saving a file.Expected result: Types such as Insurance and Vehicle Registration appear with Customer Access enabled for types customers should upload themselves.
3
Turn on Customer Access when needed
Edit a type (or create one) and turn Customer Access on when customers should see or upload that category in the portal.Why this matters: If Customer Access is off, the type is for staff-only uploads—even if you turned on the onboarding upload step.
Step 2: Tell the customer where to go
After the customer signs in to the portal, they open My Documents.1
Share the portal link
Send your facility’s customer sign-in link (see Share customer login links) or resend a portal invite from Contacts.
2
Open Profile, then My Documents
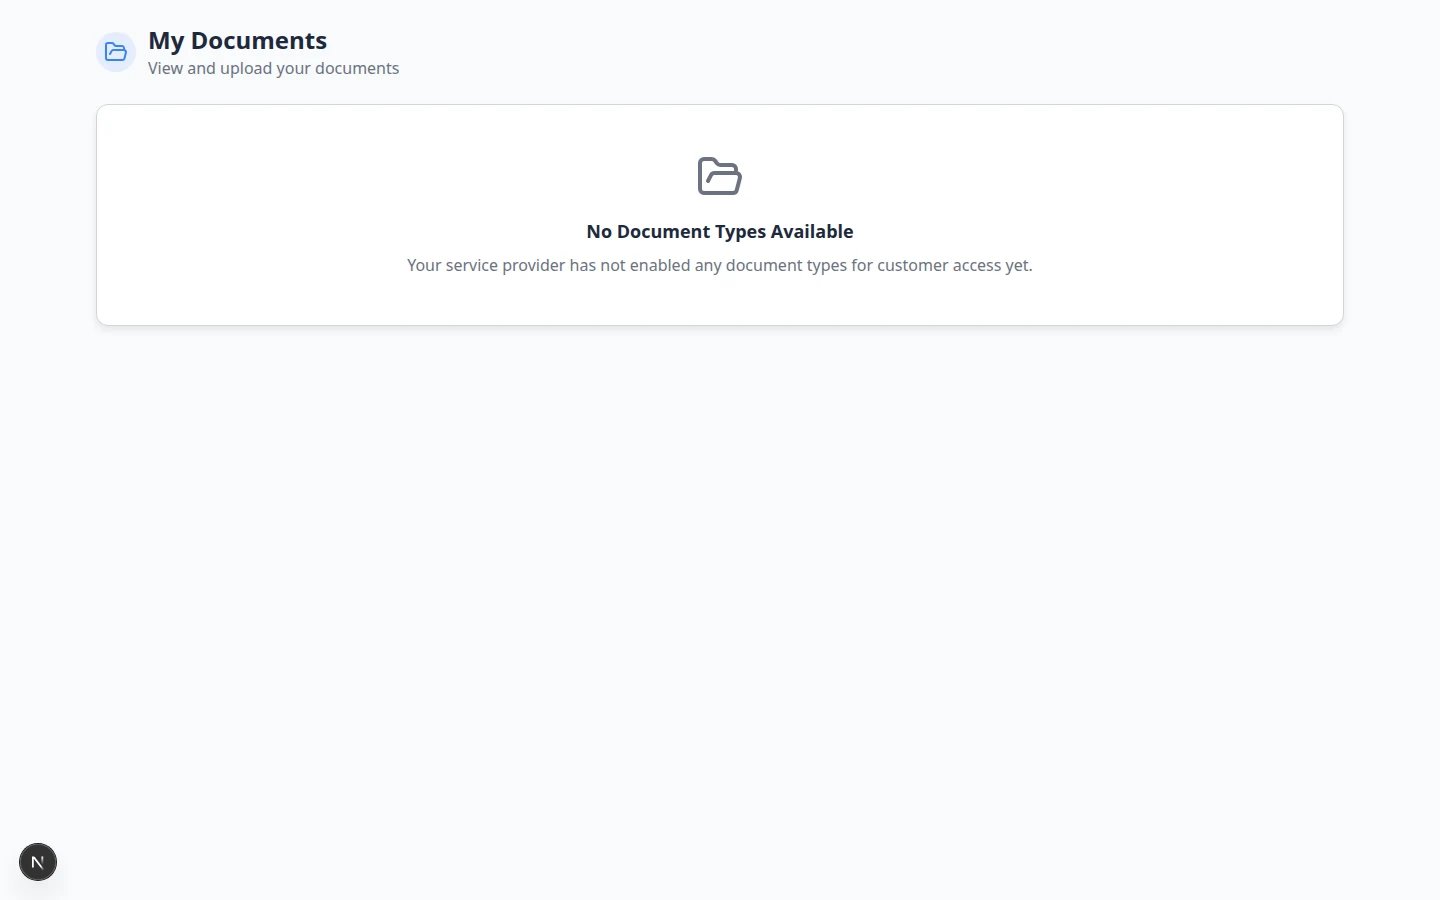
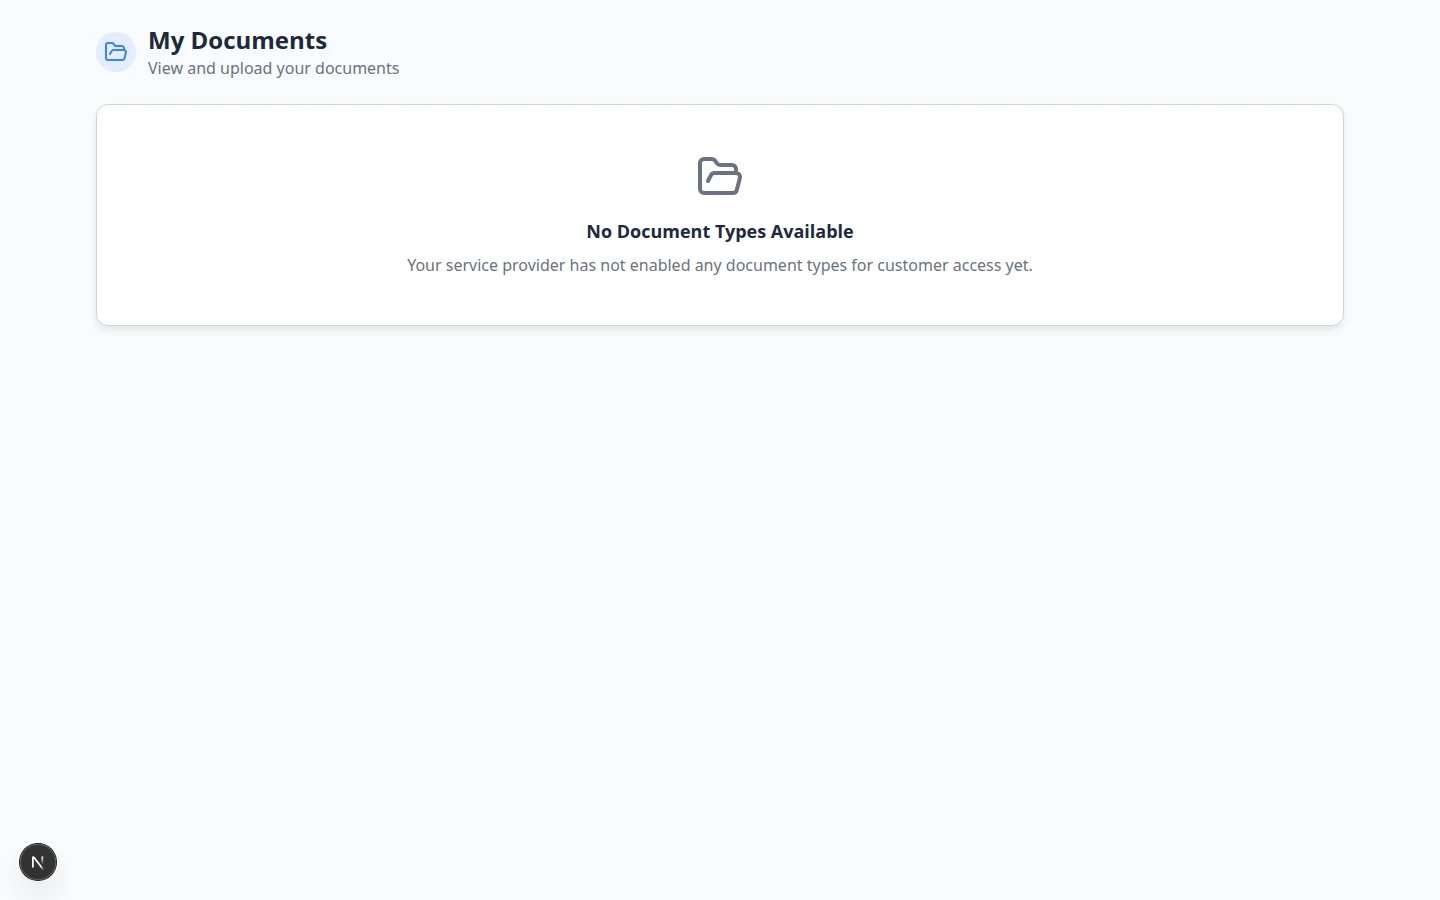
After the customer signs in, they tap Profile (or Settings) in the bottom navigation, then tap My Documents.The page title reads My Documents with the subtitle View and upload your documents.You can also open My Documents directly when you are already signed in.
Step 3: Walk the customer through an upload
Use plain language on the phone or in email. Read these steps slowly—many customers have never uploaded a file from a phone browser before.1
Choose the document type
Ask the customer to tap the card that matches their file—for example Insurance for an insurance card photo.Why this matters: Picking the wrong card makes your team relabel the file later. The card name should match what you asked for in email or on the phone.
2
Open Upload
They tap Upload on that card (or Upload your first document when the list is empty).Expected result: A window titled Upload Document opens.
3
Pick a file from their phone or computer
In the Upload Document window, they enter a Title (required), then choose a PDF or photo from their device. Many customers photograph a card with their phone camera.On a phone, Take photo or the camera option works well for insurance cards.Expected result: They see the file name (for example,
insurance-card.jpg) before they save.4
Save the upload
They tap Upload, Save, or Add Document at the bottom of the window.Expected result: The window closes and the file name appears under that document type on My Documents.
Step 4: Confirm on the customer record (staff view)
1
Open Contacts
Go to Contacts and open the customer.
2
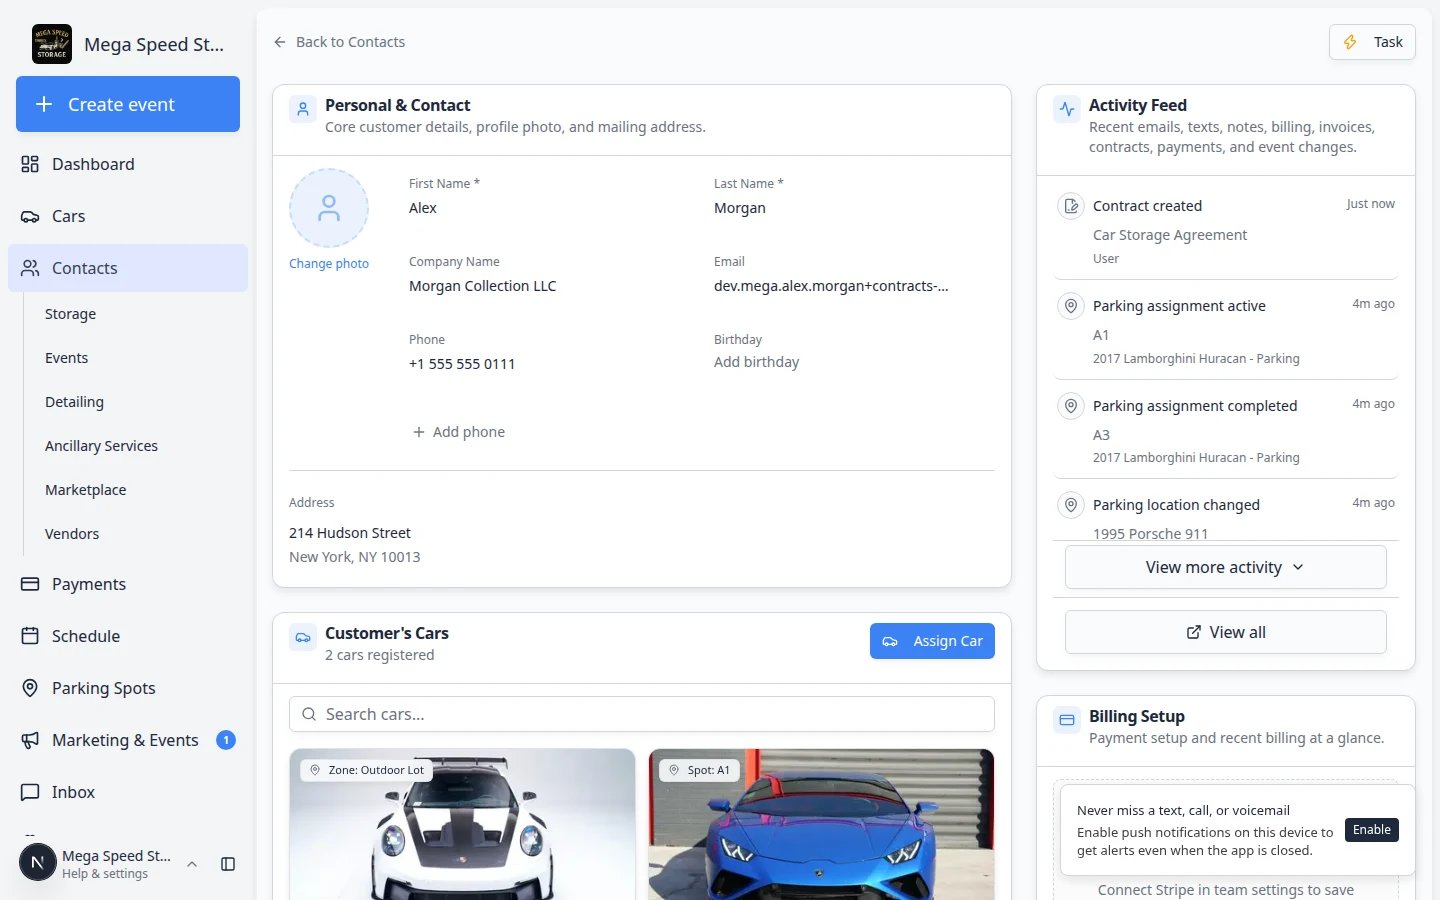
Scroll to Documents & Contracts
Find the Documents & Contracts section. Uploaded files appear as document cards with the type label you configured.Why this matters: Staff and customers share one file list—no need to hunt through email.
Optional: Require uploads during first-time onboarding
If every new customer must upload during their first portal visit:1
Enable customer app onboarding
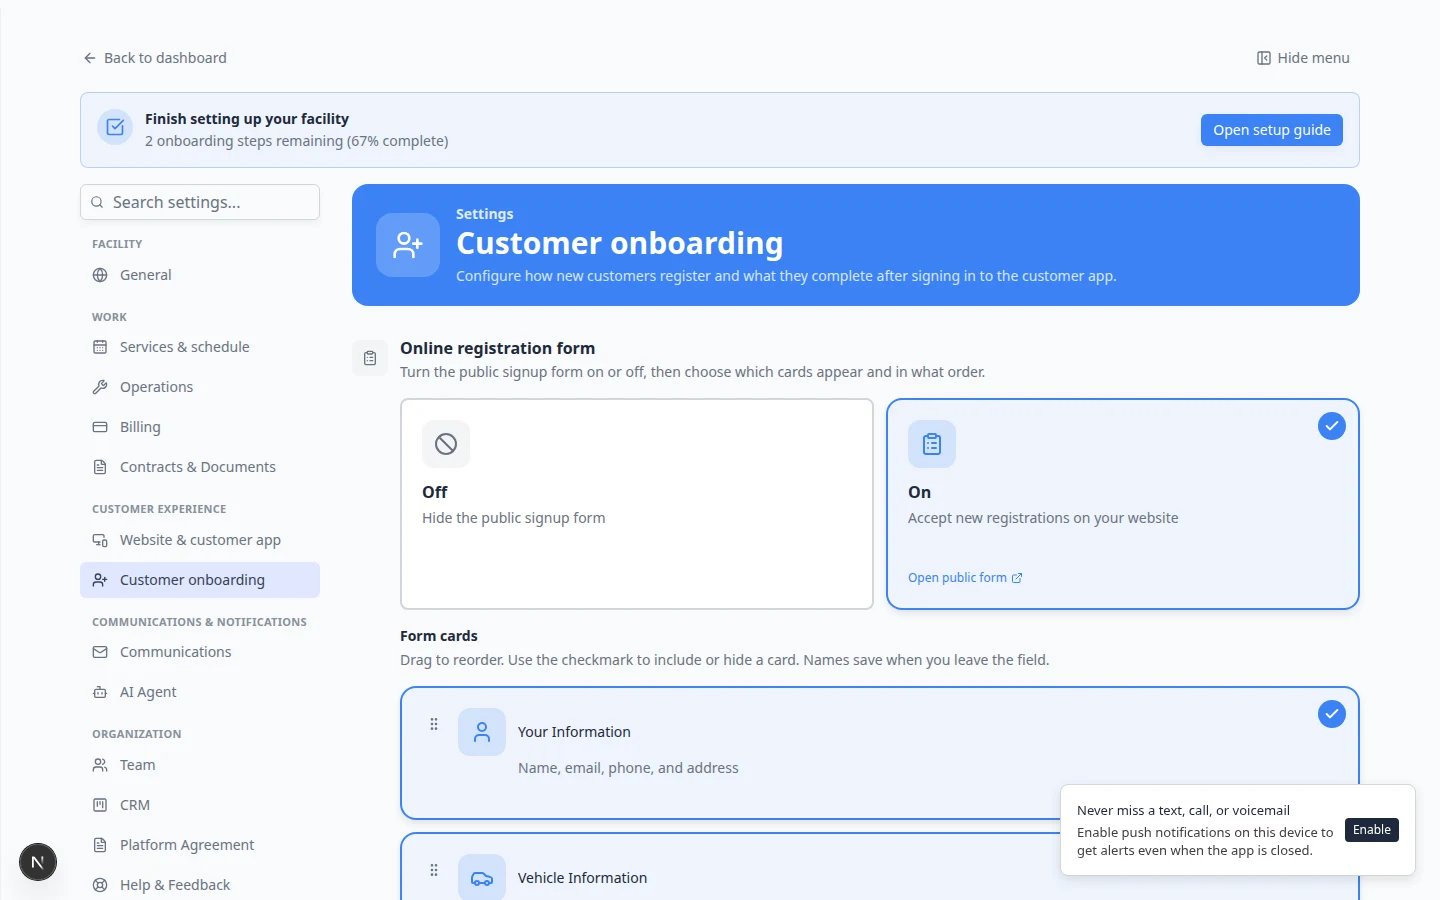
In Settings > Customer onboarding, expand Customer app onboarding and turn the main switch on.
2
Enable the Document Upload step
In the Onboarding steps list, turn on Document Upload and click Configure to choose required types.See Attach contracts to customer workflows for the full onboarding setup order (cars before contracts when vehicle fields are used).
What success looks like
- Customers can open My Documents after signing in.
- Each required file type appears with a clear name (Insurance, Registration, and so on).
- Uploaded files show on the customer record under Documents & Contracts.
- Your team spends less time saving email attachments manually.
Troubleshooting
What to do next
- Review signed contracts and document history to confirm everything is on file.
- Send a contract for signature when the customer still needs a signed agreement.
- Invite a customer to the portal if they have not signed in yet.