

What you will accomplish
- Open the Vendors list from the Contacts area.
- Add a new vendor with company name, contact person, email, and phone.
- Search and filter the vendor list when you need to find a partner quickly.
- Know where vendor invoices are reviewed after a vendor sends your facility a bill.
Vendors vs customers
Vendor bills are reviewed in PaymentsThis guide covers vendor contact records. When a vendor emails or uploads a bill, review it on Payments > Invoices under the Vendor tab. See Review and pay vendor invoices.
Before you start
- Know the vendor company name and a contact person’s first name, last name, and email.
- Have a business phone number when your team will call or text the vendor.
- Decide the vendor type (for example detailing or transport) if your facility uses vendor types in Settings > CRM.
Open the Vendors page
1
Expand Contacts in the sidebar
Click Contacts in the left sidebar to expand the list.
2
Click Vendors
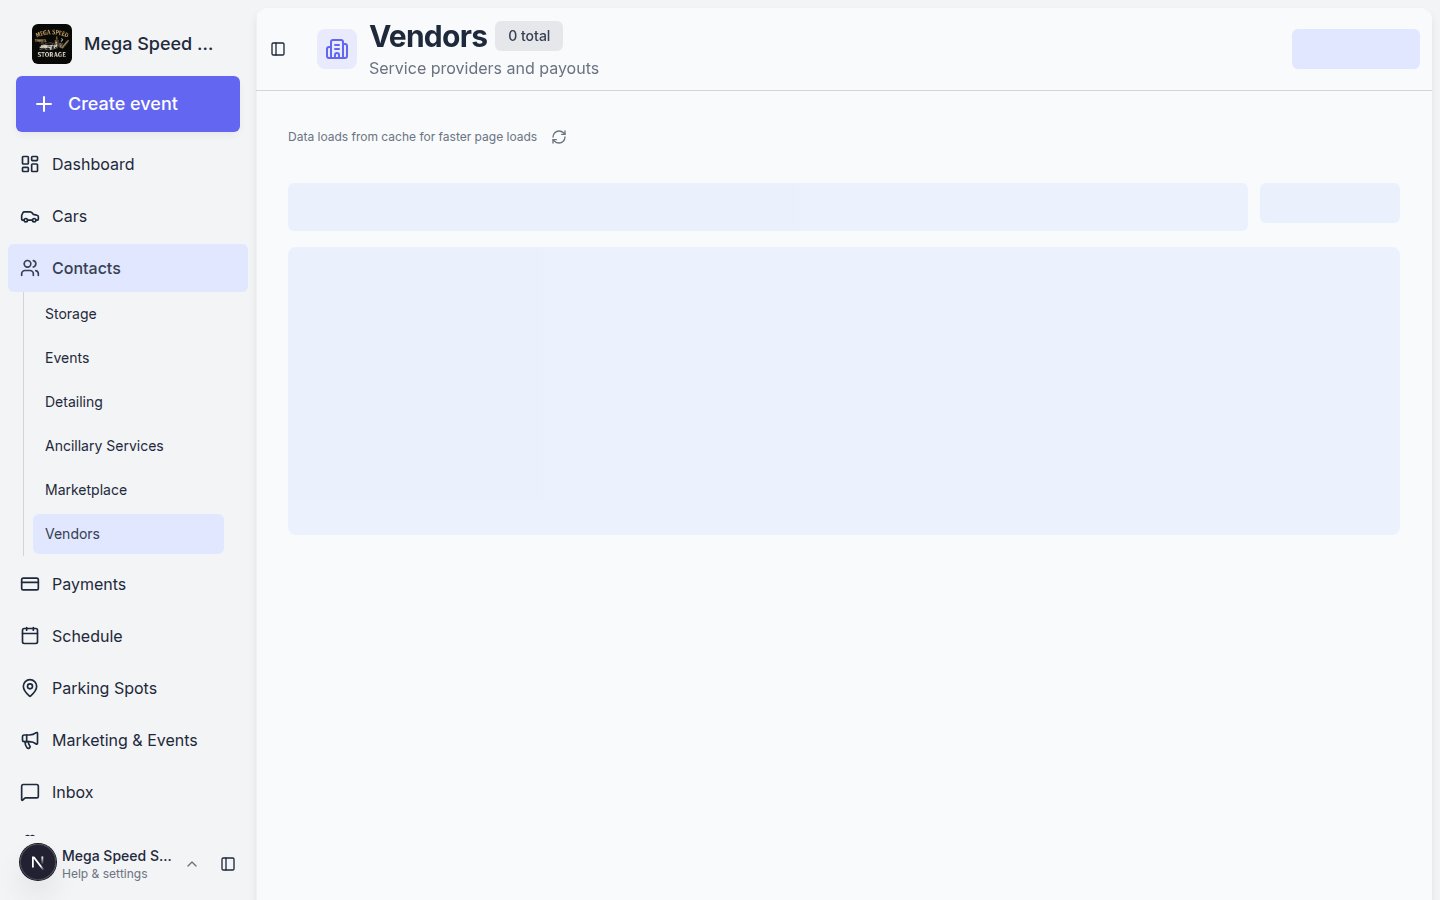
Click Vendors, or go directly to Contacts > Vendors.Expected result: The page title says Vendors and you see a table of outside companies—or an empty list if you are just getting started.
Add a vendor
1
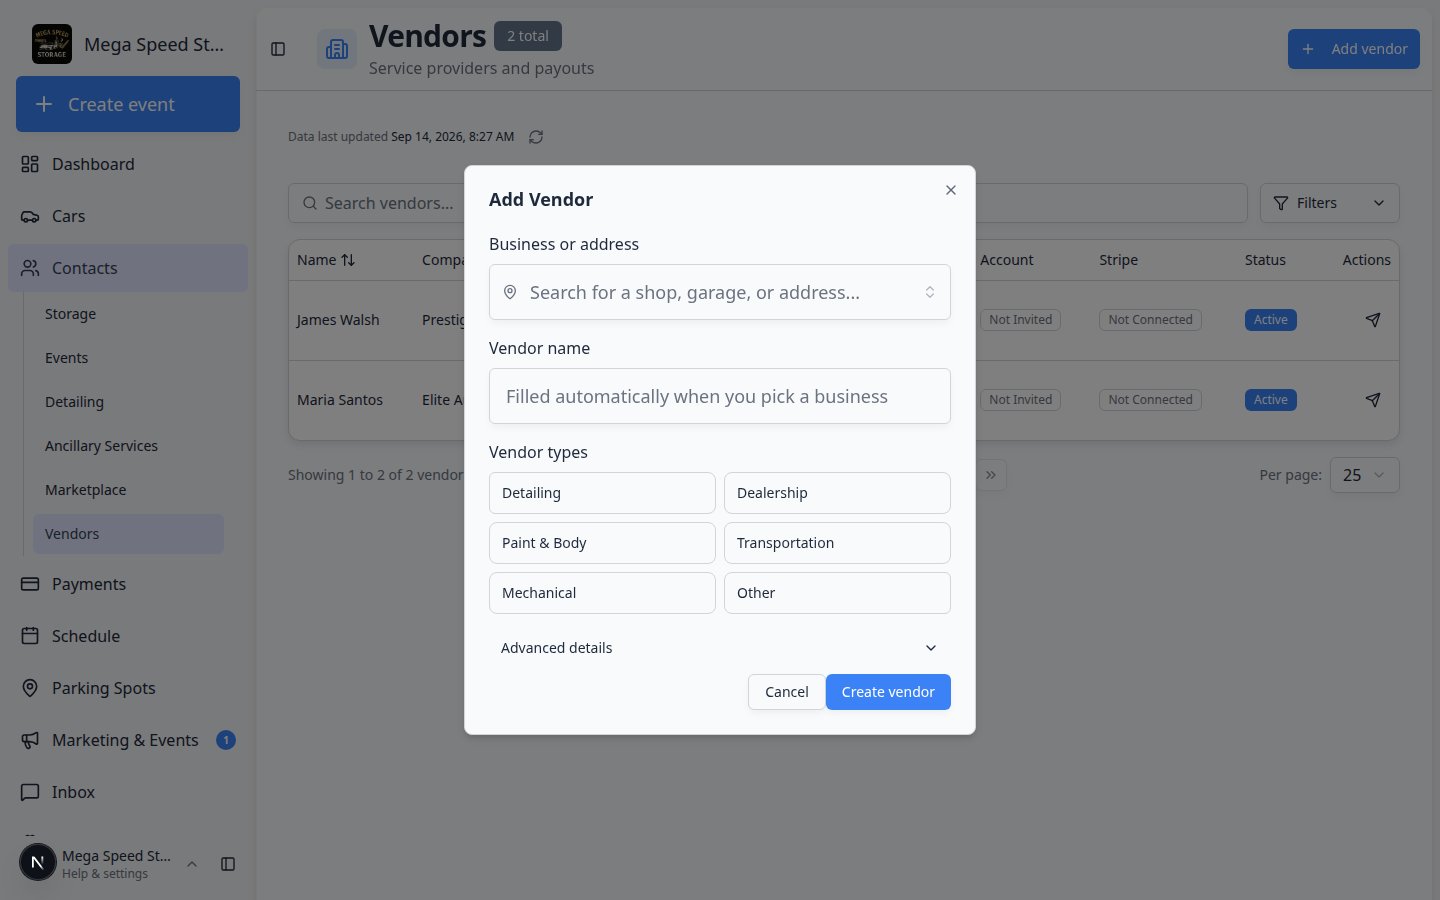
Click Add vendor
In the top-right area of the Vendors page, click Add vendor.
2
Enter Company Name
Type the business name customers and staff will recognize.Example: Elite Auto Detailing or Prestige Transport Co.Why this matters: A clear company name prevents duplicate vendor records when two people add the same shop.
3
Enter contact person details
Fill in First name, Last name, Email, and Phone for the person you work with at that company.Expected result: Your team can email or call the right person when work is due.
4
Choose vendor type (if shown)
Select one or more types such as Detailing or Transport when your facility uses vendor categories.Why this matters: Types help you filter the list later when you only need transport partners.
5
Add notes (optional)
Use Notes for helpful context—“Primary detail partner for exotics” or “Enclosed transport only”.Keep notes short and useful for the whole team.
6
Save the vendor
Click Create vendor (or Save) at the bottom of the window.Expected result: The vendor appears in the table. You can open the row later to send a portal invite or update details.
Find a vendor in the list
1
Use Search
Type part of the company name, contact name, email, or phone in the Search vendors… box at the top of the page.Expected result: The table shows only matching rows. This is the fastest way to find Elite Auto Detailing or Prestige Transport when your list grows.
2
Review search results
Confirm the company name and contact email match who you expect before you open the record.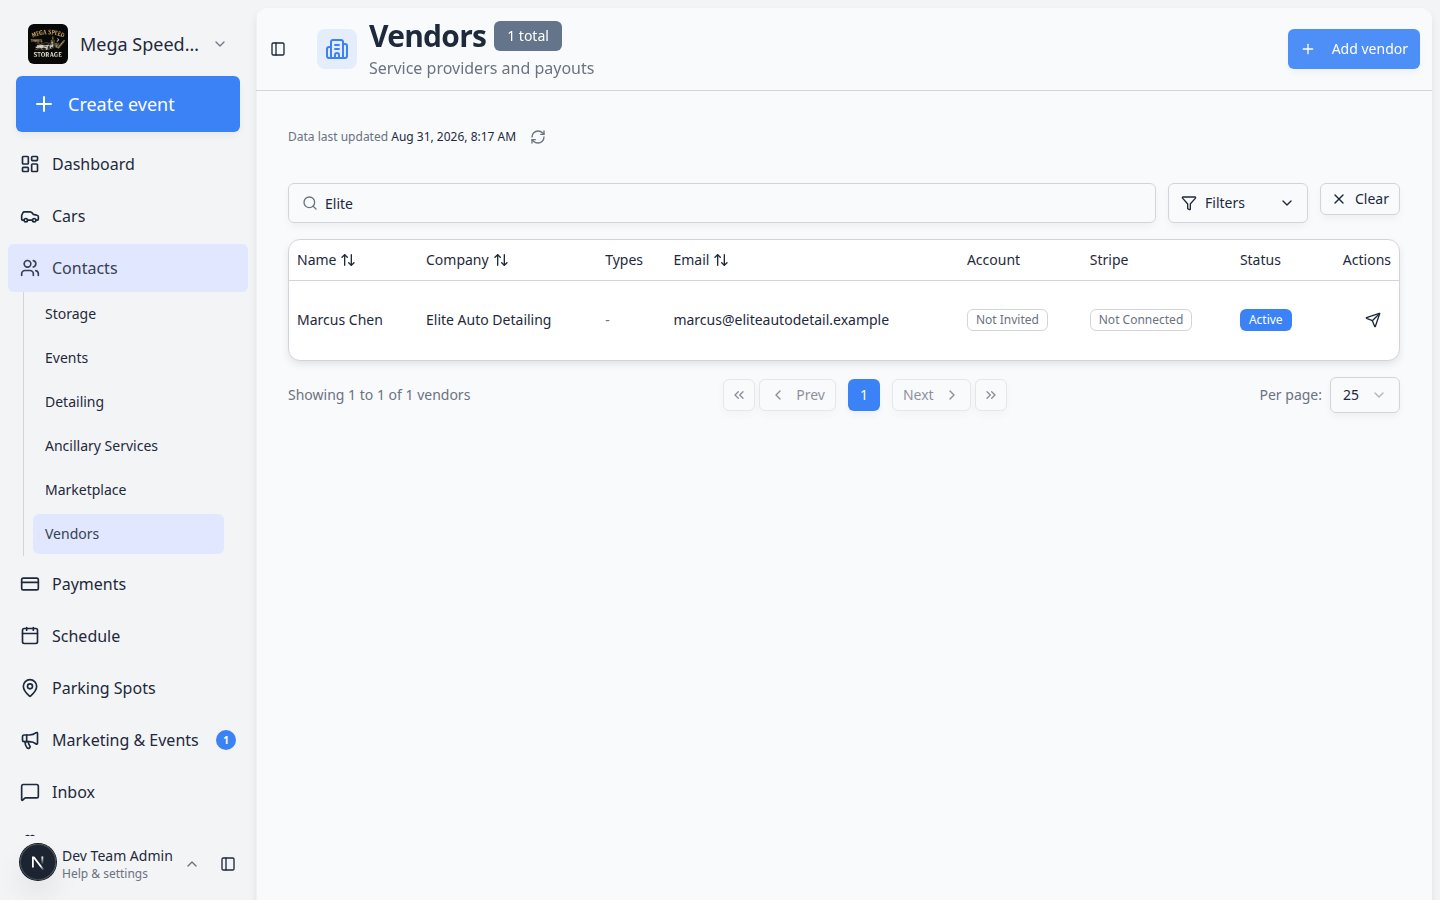
3
Filter by status or type
Open Filters & settings when you need Active vendors only or a specific Type (for example Detailing or Transport).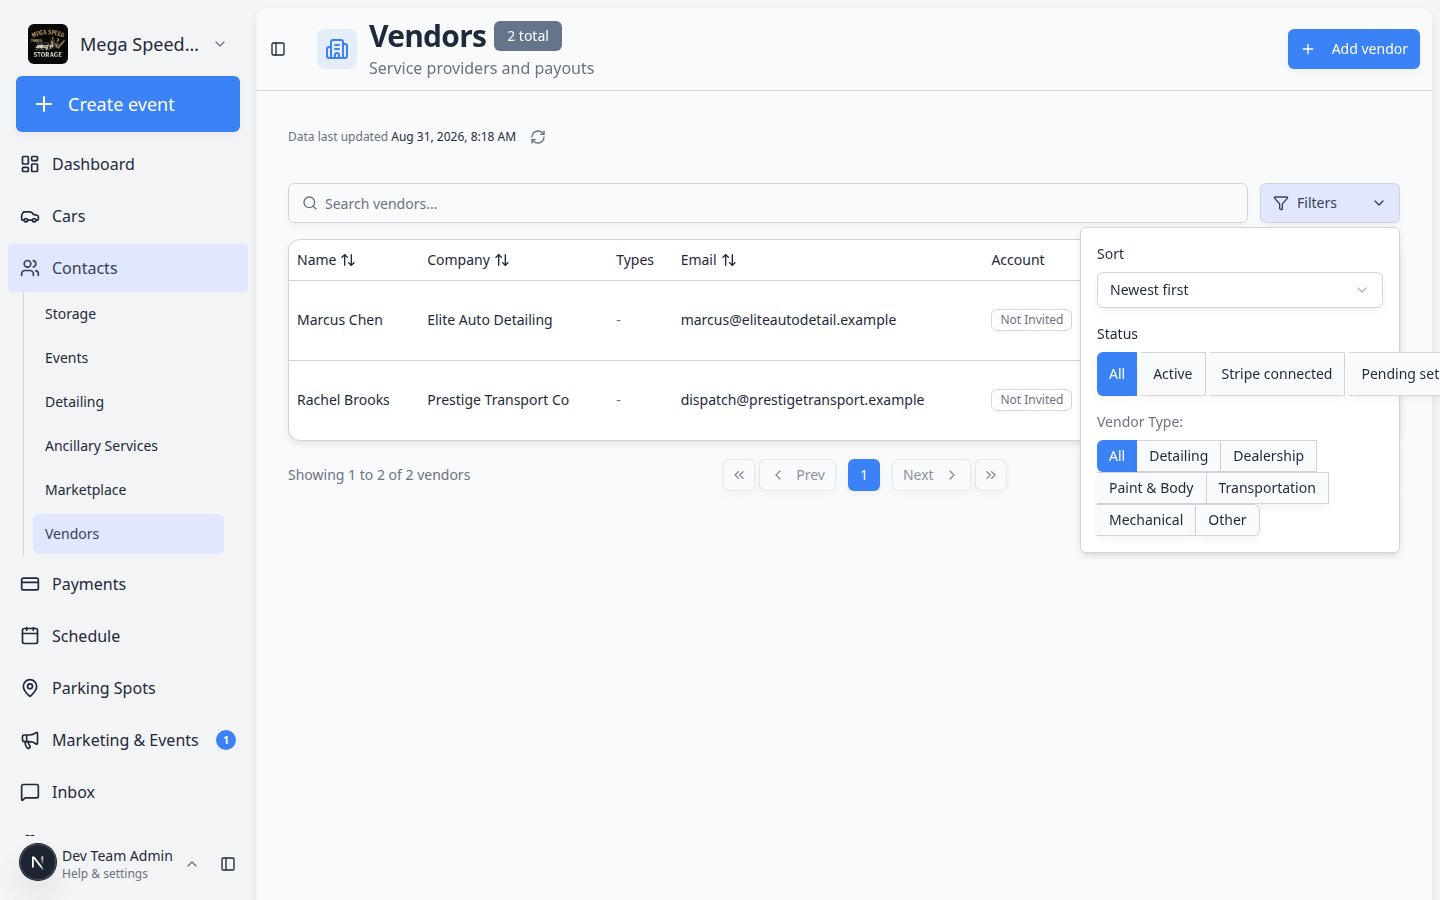
4
Open a vendor row
Click a row to open the vendor detail page.Expected result: You see full contact information, notes, and actions such as Send invite when your facility uses the vendor portal.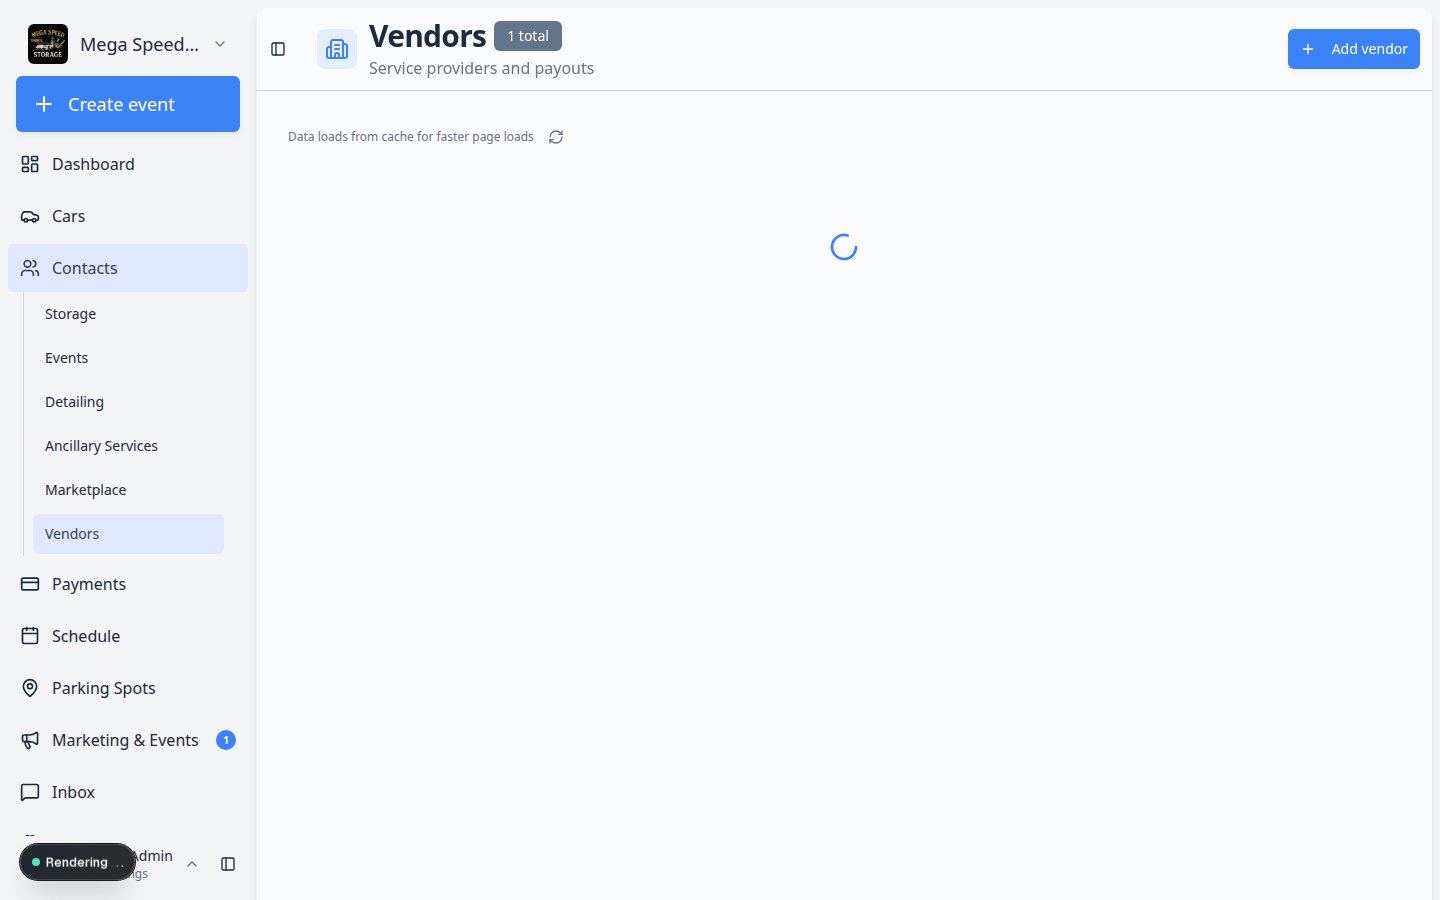
Understand vendor list columns
Your facility may show slightly different columns, but most teams see:Vendors are not in customer-type pagesStorage, Detailing, and other customer-type links under Contacts show people who pay your facility. Vendors is a separate page for companies you pay.
Send a vendor portal invite (optional)
Some facilities let vendors upload invoices through a vendor portal instead of emailing PDFs.1
Open the vendor record
Click the vendor in the table.
2
Click Send invite
When available, click Send invite so the vendor receives an email with sign-in instructions.Expected result: The vendor can submit invoices through your public vendor link. See Set up the vendor invoice portal.
What success looks like
- Every outside partner your team pays regularly has one vendor record—not several duplicates.
- Front-desk staff can find the right detailer or transporter from Vendors without asking a manager.
- Vendor bills are tied to the correct company when reviewed on Payments > Invoices.
Troubleshooting
What to do next
- Review and pay vendor invoices — process bills vendors send your facility.
- Set up the vendor invoice portal — give vendors a link to upload invoices.
- Manage vendors — payment setup, Stripe status, and vendor billing details.