

What you will accomplish
Some agreements need your facility to sign after the customer. When that happens, the contract status shows Awaiting team signature until a staff member adds the provider signature. This guide walks you through finding those contracts and finishing them so the agreement is Completed and ready to download.When this applies
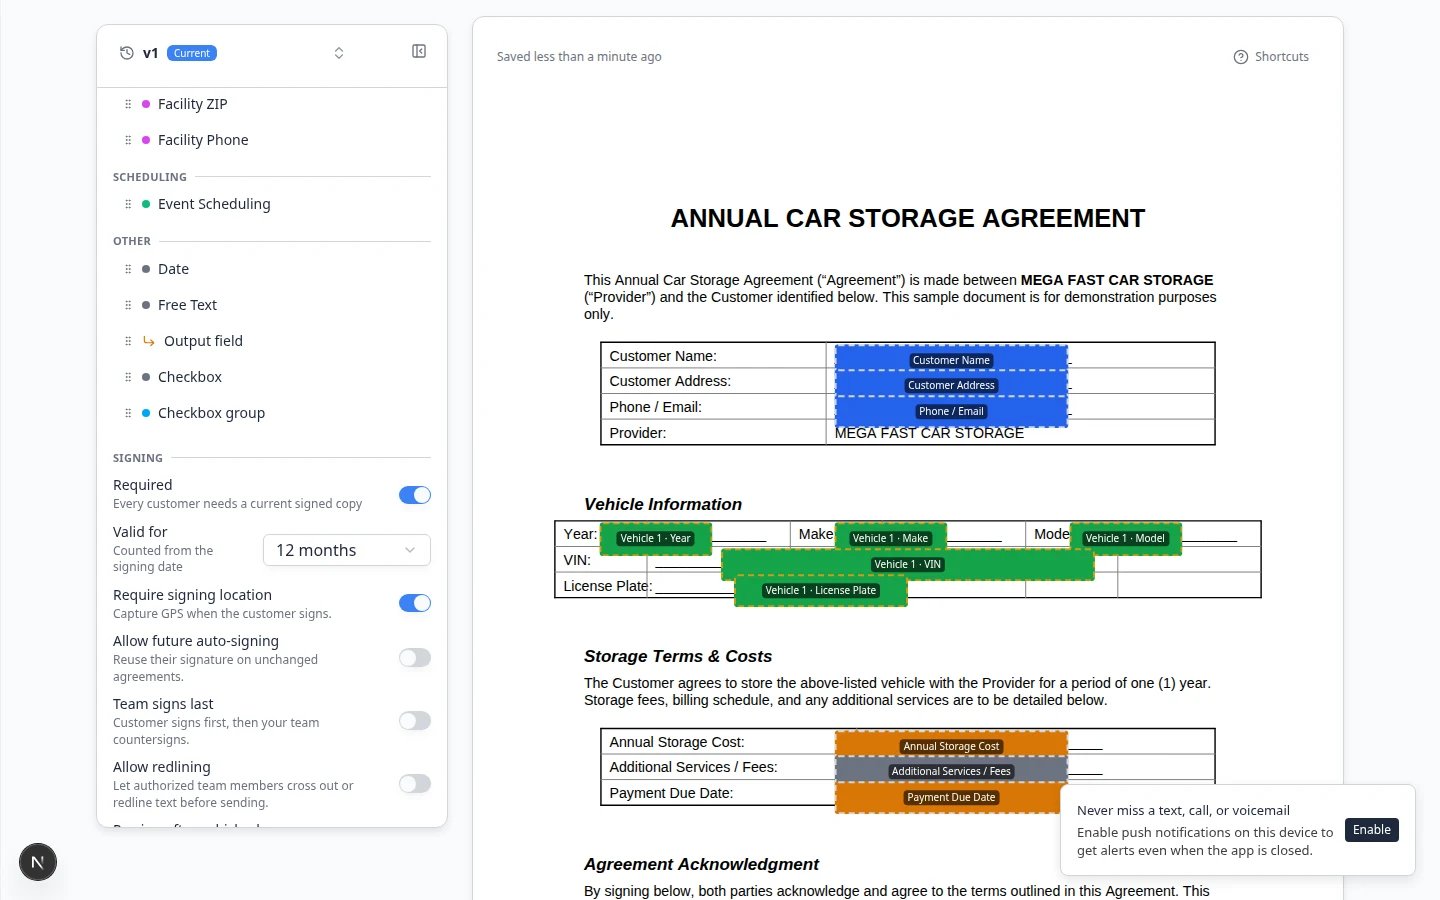
Team signs lastThis workflow only applies when the contract template has Team signs last turned on in Settings > Contracts & Documents. On that template you will see a Team signs last badge when you pick it from New Document.If your team signs before the customer receives email, use the team signature step in Send a contract for signature instead.
- The customer signs first, then a manager adds the facility signature.
- Your legal PDF has a provider signature line at the bottom.
- You want proof the customer signed before the facility commits on paper.
Before you start
- The customer already finished signing online.
- The contract card shows Awaiting team signature (or similar wording).
- You are assigned to counter-sign this agreement, or you can use Change who can counter-sign on the contract page to add yourself.
Step 1: Find contracts waiting for your signature
1
Open Contacts
Go to Contacts.
2
Search and open the customer
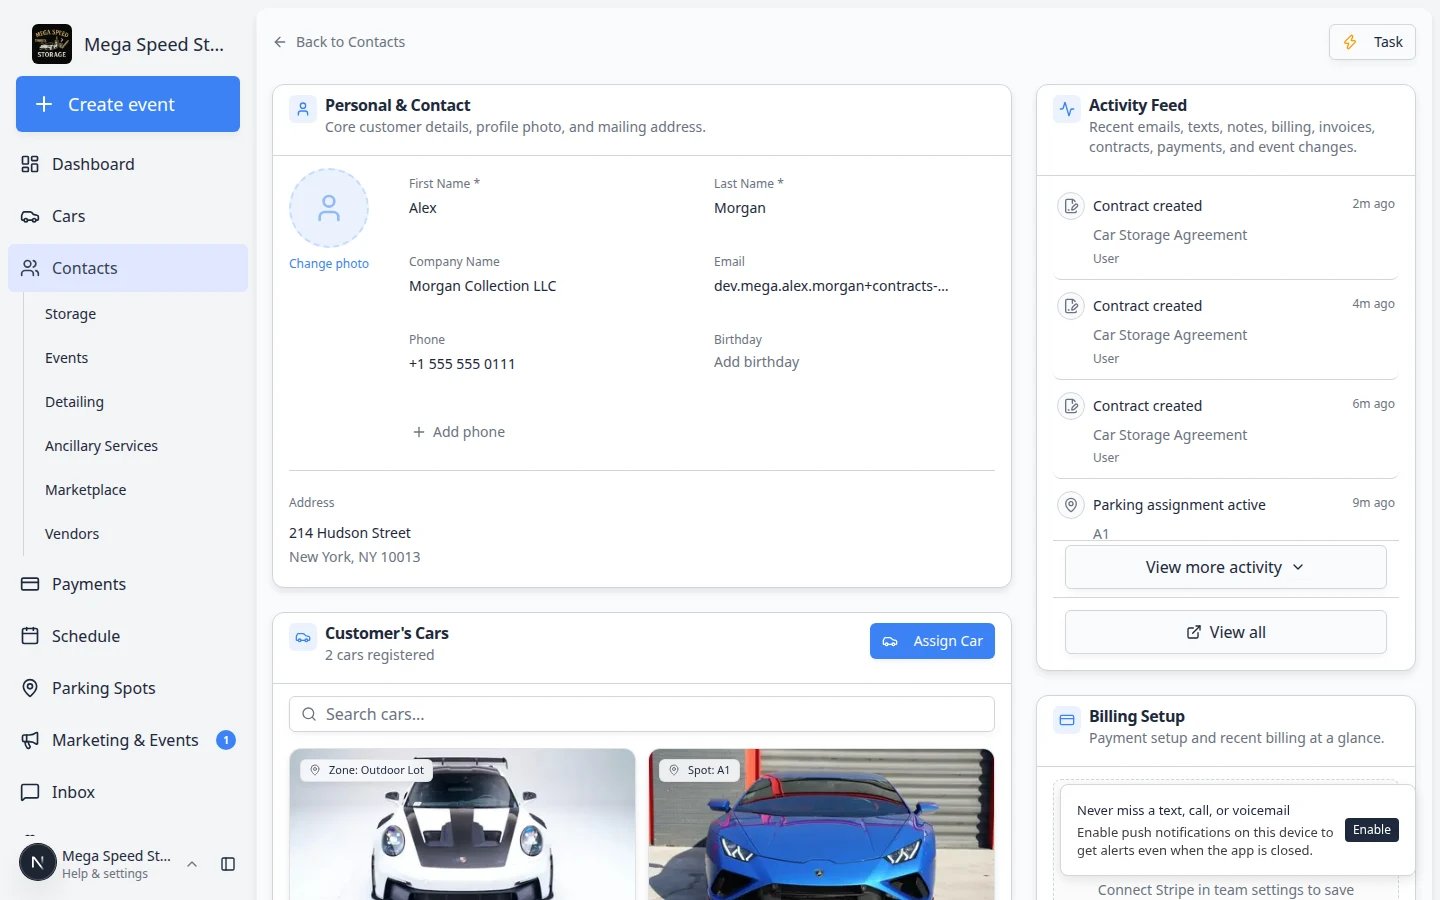
Search by name, email, or phone. Open the correct customer record.Why this matters: Counter-signing happens on the customer’s record, not from a separate inbox. Always confirm you opened the right person before you sign.
3
Scroll to Documents & Contracts
Find the Documents & Contracts section on the customer page. Look for a contract card with status Awaiting team signature.Expected result: The badge color tells you the customer is done and the facility still needs to sign. You may see other contracts on the same record (uploads, completed agreements, or agreements still waiting on the customer).
Step 2: Open the counter-sign page
1
Click the contract card
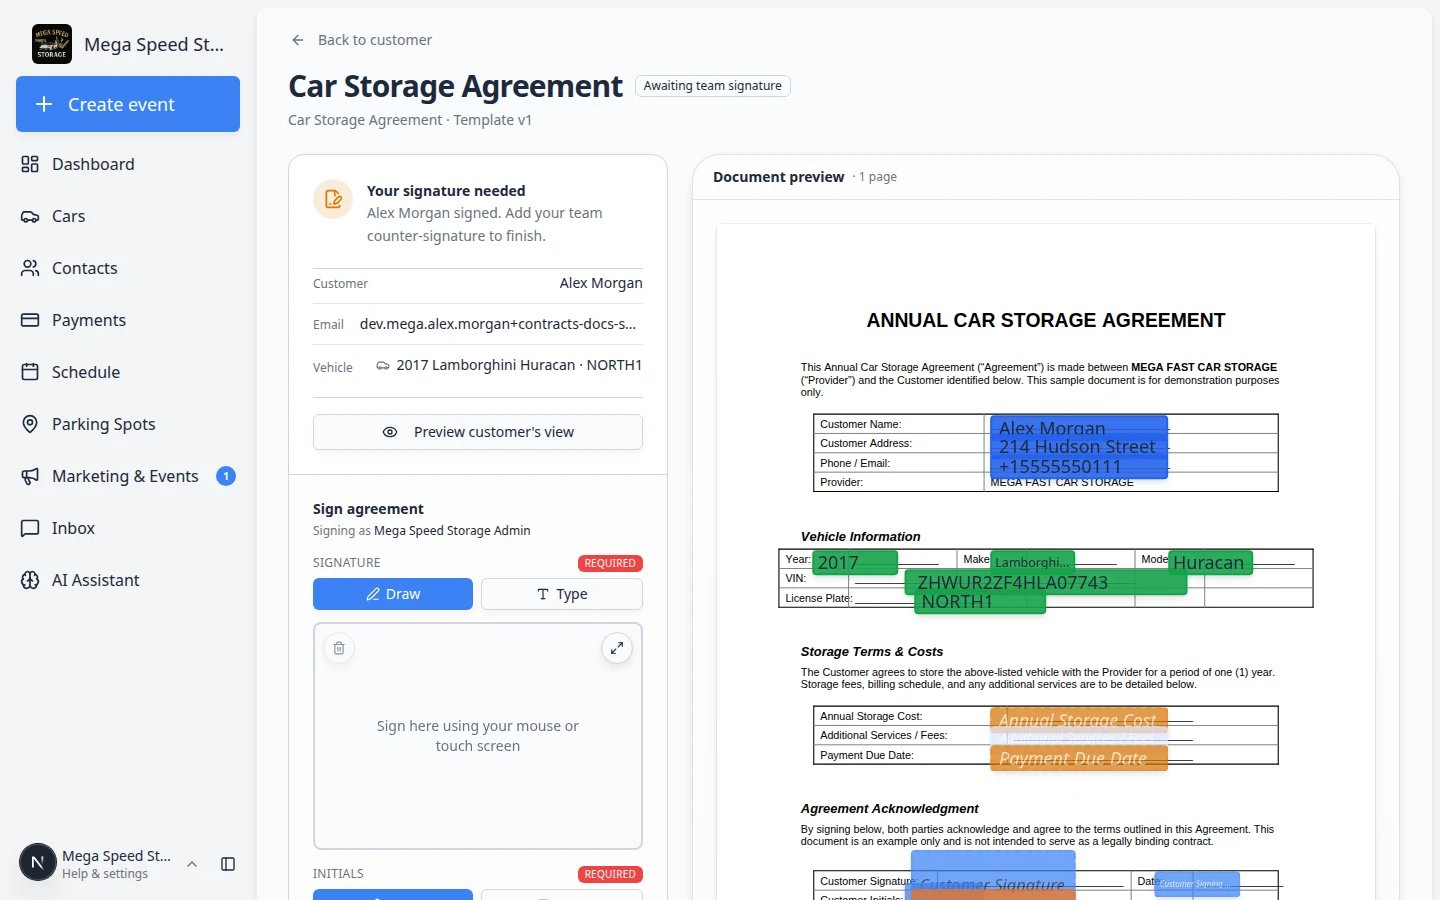
Click the agreement that shows Awaiting team signature.Expected result: A contract page opens with the PDF on the right and a Sign agreement pad on the left. It uses the same layout as the customer signing page, not the send wizard.
2
Read the status
The page shows Your signature needed and that the customer already signed.You may see the customer’s signature on the PDF preview. That is normal. It confirms they finished their side.
Step 3: Add your team signature
1
Draw your signature
Use the signature pad (mouse on a computer, or finger on a tablet). Draw clearly inside the box.Add initials too if the template requires them on a separate line.
2
Sign the contract
Click Sign contract.Expected result: Status changes to Completed. The signed PDF now includes both the customer and facility signatures.
If you see Map answers to template fields
Sometimes the template changed after the customer already filled answers. When you click Sign contract, a window titled Map answers to template fields can appear. The window says the contract has answers that no longer match a field on the template. Your job is to point each leftover answer at a current field so it still appears on the final PDF.1
Read each leftover answer
The left side of each row shows what the customer (or your team) already entered: text, a check mark, or Signature or image.
2
Pick a matching field
On the right, click Pick a field… (or Pick a checkbox… for a yes/no answer).A list of current fields opens. You can type in Search fields… to find the right one. Choose the field that should keep that answer.
3
Click Map & complete
When every leftover answer has a field, Map & complete turns on. Click it.Expected result: The contract finishes as Completed. The mapped answers appear on the signed PDF.
Prefer Map & complete so the customer’s answers are kept.Use Complete anyway only if a field no longer exists on the template and you accept that those leftover answers will not appear on the PDF.Use Don’t complete if you need to stop, check the template, or ask a manager first. The contract stays Awaiting team signature.
Why this window appearsThis is uncommon on day-to-day sending. It usually happens after someone moved, renamed, or replaced fields on the template while a contract was already in progress. Mapping is safer than completing without placing the answers.
Step 4: Download the completed PDF
1
Stay on the contract page
After saving, the page should show Completed status. If you navigated away, click the Completed contract card on the customer record.
2
Download PDF
Click Download PDF (or PDF).Expected result: Your computer saves a file with both signatures. Store it wherever your facility keeps signed agreements (shared drive, document system, or customer file).
What success looks like
- Status on the customer record is Completed.
- The downloaded PDF shows customer and facility signatures.
- Your team no longer sees Awaiting team signature on that agreement.